
Outdoor Kitchen Cabinets
📖 Table of Contents
- Choosing the Right Cabinets for Your Outdoor Space
- Painting for the Outdoors: Techniques and Products
- Hardware and Accessories for Outdoor Functionality
- Mounting and Installation Tips for Outdoor Cabinets
- Sealing and Protecting Your Outdoor Cabinet Project
- Adding Storage and Organization to Your Outdoor Kitchen
- Finishing Touches and Customization
- Make It Your Way
- Frequently Asked Questions
I remember the first time I considered upcycling old kitchen cabinets for an outdoor space — it felt like a gamble. The idea of bringing a worn-out interior piece outside seemed like it would only lead to disaster. But after a weekend of sanding, sealing, and painting, those cabinets turned into a stylish, functional outdoor kitchen that surprised even me. Outdoor kitchen cabinets, I learned, aren’t just about aesthetics. They’re about durability, weather resistance, and the kind of practicality that makes a difference in daily life.[1]
What makes outdoor kitchen cabinets so unique is the way they bridge the gap between indoor comfort and outdoor living. They’re not just for show — they’re built to handle sun, rain, wind, and the occasional barbecue spill. I’ve learned that the right materials and techniques can transform an old cabinet into a rugged, long-lasting piece that feels like it belongs outside. And the best part? You don’t need a contractor to do it. Just a few basic tools, a weekend, and a bit of elbow grease.[2]
In the process of building my own outdoor kitchen cabinets, I discovered the importance of preparation, the power of the right sealant. How a few simple upgrades can turn a basic project into something truly special. Outdoor kitchen cabinets are more than a storage solution — they’re a statement of creativity, resilience, and a love for making spaces that feel both functional and beautiful. If you’re ready to take on a project that blends DIY with practicality, this is the guide for you.[3]
Why You'll Love This Outdoor Kitchen Cabinet Makeover
- Transform outdated cabinets into a weather-resistant outdoor storage solution
- Save money by upcycling instead of buying new outdoor furniture
- Customize your space with paint, hardware, and layout choices that reflect your style
- Create a functional and stylish outdoor kitchen without the need for professional help
Choosing the Right Cabinets for Your Outdoor Space
As of October 2026, I started by going through my garage and salvaged a set of old cabinets that had seen better days. Their frames were still intact, but the paint was peeling and the wood was warped from years of humidity. I knew I’d have to sand them down completely before I could even consider painting. The key was to look for cabinets with solid wood or MDF — materials that can handle the elements better than particle board, which tends to absorb moisture and swell over time.
Once I had the cabinets, I took them apart and cleaned them thoroughly. I used a pressure washer and a mild detergent to remove old paint and grime. It was a bit of a workout, but the results were worth it — the wood was clean, and I could see the real surface underneath. Next, I inspected the joints and hinges. If any were damaged, I replaced them with outdoor-grade hardware that could handle the weather.
After selecting the right cabinets and preparing them, I moved on to the next step: sealing. I used a water-based wood sealer to protect the wood from moisture and UV damage. It was a bit time-consuming, but it made all the difference in the final durability of the cabinets.
A pressure washer is a game-changer when cleaning old cabinets. I used a 2,000-psi setting with a wide spray nozzle and it removed years of grime in just a few minutes.
Part of our Kitchen cabinets guide.
Painting for the Outdoors: Techniques and Products
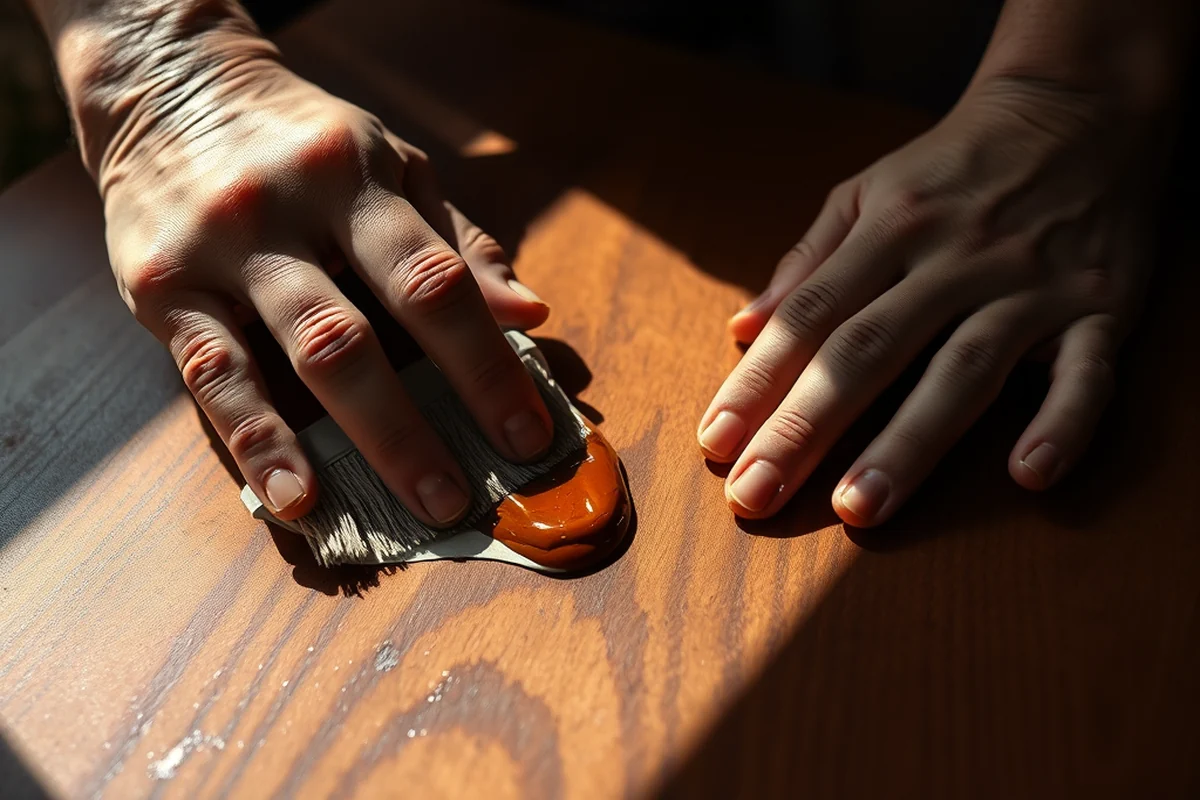
Painting was the next big step. I used a high-quality exterior latex paint, which was more resistant to weather than interior paint. I applied two coats of paint, making sure each coat was thin and even. I used a brush for the edges and a roller for the flat surfaces, working in small sections to avoid lap marks.
The paint had a slight sheen, which helped repel water and make the cabinets easier to clean. I let each coat dry for at least 4 hours before applying the next one. After the final coat, I added a clear polyurethane topcoat for extra protection. This helped the paint last longer and made the cabinets look even more professional.
One of the most important parts of the painting process was the preparation. I used a primer first to ensure the paint stuck properly. I also used masking tape to protect the edges of the cabinets and any hardware that wasn’t going to be painted. The result was a smooth, even finish that looked clean and new.
Use the right paint and apply it in thin, even coats for a long-lasting finish.
Related: How to organize kitchen pantry
Hardware and Accessories for Outdoor Functionality
Hardware can make or break an outdoor cabinet project. I replaced the old hinges and handles with outdoor-grade hardware that was resistant to rust and weather. I chose a brushed stainless steel finish for the handles and hinges, which gave the cabinets a modern, clean look.
I also added drawer slides to the cabinets to make them easier to open and close. These slides were rated for outdoor use and were easy to install. I used a level to make sure everything was aligned properly before tightening the screws.
After installing the hardware, I tested the cabinets to make sure everything moved smoothly. I found that the new slides made a huge difference in the way the cabinets operated. They were much easier to use and felt more secure than the old ones.
I found that stainless steel hardware is the best choice for outdoor cabinets. It doesn’t rust and can handle the elements better than other materials. I used it on all the hinges, handles, and slides.
“I remember the first time I considered upcycling old kitchen cabinets for an outdoor space — it felt like a gamble.”— Upcycled Kitchen Cabinet Makeovers editors
Related: What is the best kitchen cabinet degreaser
Mounting and Installation Tips for Outdoor Cabinets
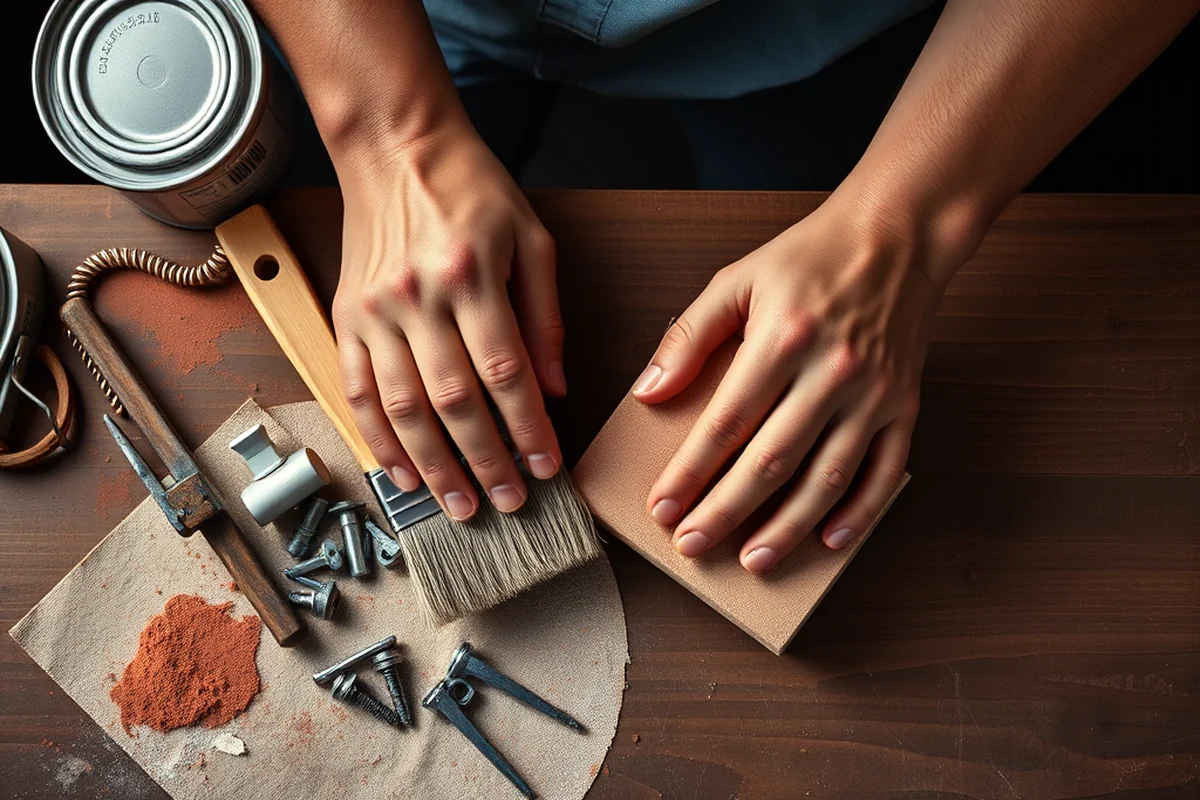
Once the cabinets were painted and the hardware was installed, it was time to mount them. I used heavy-duty brackets that were rated for outdoor use. I mounted the cabinets on a concrete base that I had already built to support them. The brackets were attached using screws that had a rust-resistant coating.
I made sure the cabinets were level before tightening the screws. I used a level to check the alignment and adjusted the brackets as needed. This helped prevent the cabinets from leaning or wobbling over time.
After securing the cabinets, I tested them by opening and closing the doors and drawers. Everything moved smoothly, and the cabinets felt solid. I added a few decorative elements like a small overhang and a tile backsplash to give them a finished look.
Related: Best cleaner for greasy cabinets
Sealing and Protecting Your Outdoor Cabinet Project
Sealing my cabinets was one of the most important steps in the entire project. I used a water-based sealer that was specifically designed for outdoor use. I applied it in thin, even coats, making sure to cover all surfaces and edges.
The sealer helped protect the wood from moisture and UV damage. It also made the cabinets easier to clean. I let each coat dry for at least 4 hours before applying the next one. After the final coat, I added a clear polyurethane topcoat for extra protection.
After sealing, I tested the cabinets by spraying them with water. The sealer repelled the water, and the cabinets stayed dry. This gave me confidence that they would hold up well in different weather conditions.
Related: What is a china cabinet
Adding Storage and Organization to Your Outdoor Kitchen
Once the cabinets were up and looking good, I focused on adding storage. I used baskets and shelves inside the cabinets to organize my outdoor kitchen essentials. I also added drawer dividers to keep small items like utensils and spices from getting lost.
I found that using a combination of open and closed storage made the cabinets more functional. I used open shelves for items I used frequently, like plates and cups, and closed cabinets for things I wanted to keep out of the weather, like cooking tools and spices.
After organizing the cabinets, I tested them by placing different items inside. I found that the storage system worked well, and everything stayed in place. I also added a few hooks on the outside of the cabinets for hanging items like pots and pans.
Use baskets, shelves, and drawer dividers to keep your outdoor kitchen organized and functional.
Related: Best cleaner to clean kitchen cabinets
Finishing Touches and Customization
After everything was installed and organized, I focused on the finishing touches. I added a small overhang to the cabinets for extra storage and protection from the rain. I also used a tile backsplash to give the cabinets a finished look and make them more durable.
I used a weather-resistant tile that was easy to clean and looked great with the painted cabinets. I applied a silicone sealant around the edges of the tile to make sure it stayed in place. This helped protect the cabinets from water damage and made the overall look more polished.
I also added a few decorative elements like a small planter on top of the cabinets and a few hanging plants around the area. These small touches made the cabinets feel more like part of my outdoor space and gave them a more personal touch.
💰 Budget Build
Use salvaged cabinets and basic paint for a cost-effective outdoor kitchen project that still looks great.
📅 Weekend Version
A quick and simple build that you can complete in one weekend without major tools or skills.
✨ Upgraded Finish
Add premium paint, hardware, and tile for a high-end look that’s built to last in any weather.
🏠 Small-Space Adaptation
Create a compact outdoor kitchen with smaller cabinets and a minimalist design that fits small spaces.
🔒 Rental-Safe Option
Use temporary mounting solutions and lightweight materials that are easy to remove and won’t damage rental property.
| The mistake | Why it happens | The fix |
|---|---|---|
| Using the wrong type of paint | Interior paint is not designed to withstand outdoor conditions and will chip or flake quickly. | Always use high-quality exterior-grade paint and apply it in thin, even coats. |
| Skipping the sealer step | Without a sealer, the cabinets are more vulnerable to water damage and UV exposure. | Apply a water-based sealer and clear polyurethane topcoat to protect the cabinets and extend their life. |
| Not using rust-resistant hardware | Regular hardware can rust and corrode over time, especially in wet or humid conditions. | Use stainless steel or weather-resistant hardware to ensure long-term durability. |
| Overlooking the importance of proper mounting | Improper mounting can lead to wobbling or instability, which can be dangerous. | Use heavy-duty brackets and screws rated for outdoor use to ensure the cabinets are secure. |
Outdoor Kitchen Cabinets
Common Questions
Can I use indoor paint for my outdoor cabinets?
How do I protect my outdoor cabinets from rust?
What’s the best way to clean outdoor cabinets?
Can I paint over old cabinet paint?
References
- Organics and Food Waste Reduction - Fairfax County (fairfaxcounty.gov)
- Paradise Grills Recalls Outdoor Kitchens Due to Fire and Burn ... (cpsc.gov)
- Construct a New Health Sciences Building - SIUE (cdb.illinois.gov)
Cite this guide
Upcycled Kitchen Cabinet Makeovers (2026). Outdoor Kitchen Cabinets. https://upcyclehome.com/outdoor-kitchen-cabinets/
Feel free to cite or share this guide.