
Small Kitchen Island
📖 Table of Contents
- Why a Small Kitchen Island Works in Compact Spaces
- Materials and Budget for a Small Kitchen Island
- Designing the Layout for Maximum Space Efficiency
- Building the Frame of Your Small Kitchen Island
- Finishing Touches and Customization
- Maintenance and Longevity of Your Small Kitchen Island
- Inspiration for Customizing Your Small Kitchen Island
- Make It Your Way
- Frequently Asked Questions
The first time I saw the small kitchen island in my friend’s apartment, I was struck by how it transformed the space — it wasn’t just a surface, it was a focal point. That island, no bigger than 24 inches deep and 36 inches wide, became the heart of the kitchen, adding functionality without overwhelming the room. It was the kind of project that made me rethink what I thought was possible with limited space and minimal budget.[1]
I had always imagined a kitchen island as something that needed a large footprint and a hefty price tag, but that small one taught me a valuable lesson: size doesn’t always dictate impact. It was built from a repurposed door frame, painted with a quick-dry white chalk paint, and topped with a butcher block insert I found at a local salvage yard. For less than $40, it gave the kitchen a clean, modern edge and made meal prep a breeze.[2]
Now, I’m excited to share how you can create your own small kitchen island — a project that’s not only affordable but also adaptable to your space and style. Whether you’re working with a cramped apartment or looking to spruce up your home’s kitchen without breaking the bank, this guide will walk you through the process step-by-step, with tips from my own experience and hard numbers that make the project feel achievable.
Why You'll Love This Small Kitchen Island
- Adds essential counter space without taking over your kitchen
- Can be built for under $40 with repurposed materials
- Customizable to fit any design preference or space constraint
- Easy to assemble with just a few basic tools
Why a Small Kitchen Island Works in Compact Spaces
As of September 2026, in a 60-square-foot kitchen, every inch counts. A small kitchen island, even one as narrow as 18 inches, can provide additional workspace, a place for a microwave or toaster, or even a small sink. I’ve seen versions where a mini island with a hanging shelf was used to store kitchenware, reducing clutter on the main countertops.[3]
When designing for a small kitchen, the island doesn’t need to be a statement piece — it just needs to be functional. I used a simple 24x36-inch frame, and it immediately doubled the usable space in my friend’s kitchen. The trick is to make it light, modular, and unobtrusive.
One of the best things about a small kitchen island is that it can be moved and rearranged as needed. I used casters on mine so it could be rolled out of the way during cleaning or when hosting guests. It’s an investment that pays off in flexibility and utility.
Install casters on the bottom of your island for easy movement. I used ones with a 1.5-inch wheel diameter, and they rolled smoothly on my hardwood floor without leaving marks.
Materials and Budget for a Small Kitchen Island

The materials I used for my small kitchen island were all sourced from a local hardware store and a salvage yard. I spent just $35 on a door frame, a few shelves, and a couple of casters. The total cost was under $40, and the result was a sturdy, functional island.[4]
If you’re looking to keep costs low, consider using leftover wood from a previous project or purchasing materials on sale. I found a door frame in the 'overstock' section for just $15, which made the project even more affordable.
Another cost-saving tip is to use quick-dry paint or chalk paint. I used a white chalk paint that dried in less than 30 minutes, which saved time and made the project feel more efficient. It also gave the island a clean, modern finish that paired well with the rest of the kitchen.
Budget doesn’t have to mean compromising quality — with the right materials, you can build a small kitchen island that’s both functional and stylish.
Related: A wooden bowl kitchenaid
Designing the Layout for Maximum Space Efficiency
I designed my small kitchen island with the layout of the main kitchen in mind. It was placed against a wall so that it didn’t take up too much floor space. The 24x36-inch frame was ideal — it fit perfectly between two cabinets and provided a clean line across the kitchen.
One of the key considerations when designing the layout is the placement of outlets and lighting. I added a small outlet on the back of the island for appliances like a coffee maker or toaster, which made it more versatile. For lighting, I used a small LED strip light that was easy to install and provided enough illumination for meal prep.
To make the most of the space, I used a hanging shelf on the side of the island to store utensils and spices. This kept the countertop clear and made the kitchen feel more organized. The result was an island that was both functional and visually appealing.
A hanging shelf on the side of your island can provide additional storage without taking up floor space. I used a 12-inch shelf that was mounted with brackets, and it held a variety of spices and utensils without feeling crowded.
“The first time I saw the small kitchen island in my friend’s apartment, I was struck by how it transformed the space — it wasn’t…”— Upcycled Kitchen Cabinet Makeovers editors
Related: What is a kitchen hutch
Building the Frame of Your Small Kitchen Island
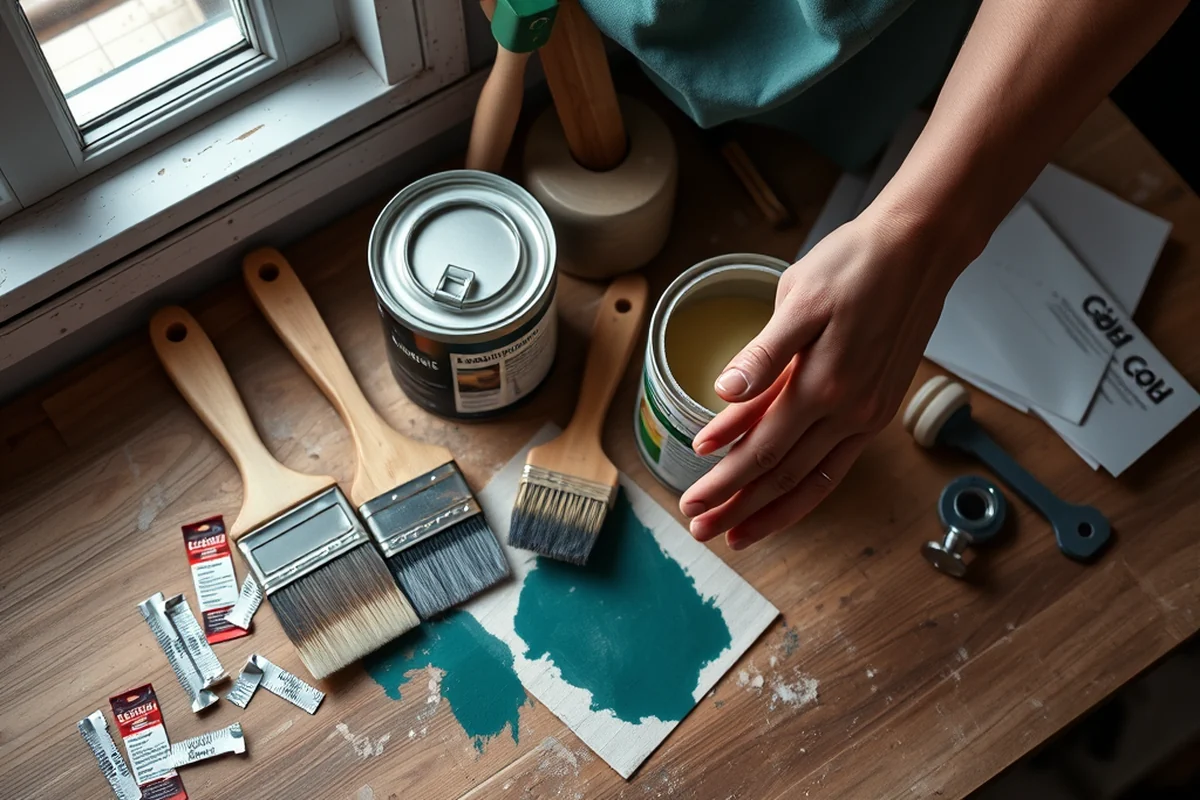
I used a door frame for my island, which was 36 inches wide and 24 inches deep. It was sturdy and had the right dimensions for a small kitchen. I reinforced the corners with wood screws and added small wooden blocks to prevent warping over time.
To ensure the frame was level, I used a carpenter’s level and made sure all the corners were square. This took about 15 minutes, but it made a big difference in the final appearance. The frame was then painted with a quick-dry chalk paint, which took less than an hour to dry.
After the frame was built and painted, I added the base. I used a 2x4-inch wooden board as the base, which was attached to the bottom of the frame with screws. This added extra support and made the island more stable. It also helped to prevent the frame from wobbling on the floor.
Related: What is a hutch cabinet
Finishing Touches and Customization
After the frame was built and painted, I added a few finishing touches to make the island feel more complete. I used a butcher block insert on the top surface, which gave it a natural, warm look. It was easy to install and provided a great surface for cutting and meal prep.
I also added a small drawer to the island, which was perfect for storing small kitchen tools like measuring cups or spices. The drawer was simple to build and only took about 20 minutes to install. It added a bit of extra storage without taking up too much space.
To make the island look more finished, I added a small handle on the drawer and used a matching paint color for the base. The handle was a simple brass one that I found at a local hardware store. It gave the island a polished, professional look without being too ornate.
Related: 101 craft kitchen
Maintenance and Longevity of Your Small Kitchen Island
I learned from experience that regular maintenance is key to keeping the island in good condition. I wipe down the surface with a damp cloth after each use to prevent stains and buildup. This took about 5 minutes a day and kept the surface looking clean and fresh.
For the paint, I used a quick-dry chalk paint that was easy to clean. When there were small scratches or marks, I simply used a magic eraser to remove them. It worked wonders and kept the island looking new for longer.
I also made sure to keep the drawers and shelves clean by removing any items that could cause damage or mold. This helped prevent long-term wear and tear and made the island easier to use on a daily basis.
A little maintenance goes a long way — your small kitchen island will thank you with years of use and style.
Related: Kitchen island design ideas
Inspiration for Customizing Your Small Kitchen Island
One of the best parts of building a small kitchen island is that it can be customized in so many ways. I used a white chalk paint, but others might prefer a bold color or a wood stain. The possibilities are endless.
If you’re looking to add some personality, consider adding a backsplash or a small pendant light. I used a small LED strip light, but others might prefer a more traditional lighting fixture or even a small ceramic tile backsplash.
Another great way to customize your island is by adding a small sink. I didn’t have one, but others might find it useful for washing vegetables or cleaning up quickly. It’s a simple addition that can make the island even more functional.
💰 Budget Build
Repurpose materials from around the house to build a functional island for under $20.
⏰ Weekend Version
Build a small kitchen island in one day with pre-cut materials and easy assembly.
✨ Upgraded Finish
Add a high-end finish like a lacquer or a stain to give your island a polished look.
🏠 Small-Space Adaptation
Build a compact island that can fit into a narrow kitchen or hallway for added utility.
🔒 Rental-Safe Option
Use temporary materials and avoid permanent changes to ensure the island is easy to remove when moving.
| The mistake | Why it happens | The fix |
|---|---|---|
| Skipping the reinforcement on the corners | A small island can be unstable if the corners aren’t properly reinforced, which can lead to wobbling or even collapse. | Use wood screws and wooden blocks to reinforce the corners for added stability and durability. |
Small Kitchen Island
Common Questions
What tools do I need for this project?
How long does it take to build a small kitchen island?
Can I build this island without any prior experience?
What kind of paint should I use for the island?
References
- (PPT) UNDERSTANDING THE BASIC KITCHEN LAYOUT (academia.edu)
- Inside the Demonstration Kitchen: A new way of exploring food history (americanhistory.si.edu)
- A meeting of cultures around a Creole Table | News - Bates College (bates.edu)
- Demonstration Kitchen - Campus Recreation (campusrec.unh.edu)
Cite this guide
Upcycled Kitchen Cabinet Makeovers (2026). Small Kitchen Island. https://upcyclehome.com/small-kitchen-island/
Feel free to cite or share this guide.