
Upcycle Kitchen Doors
📖 Table of Contents
- Choosing the Right Doors for Upcycling
- Preparation and Surface Readiness
- Selecting the Right Paint and Finish
- Painting Techniques for a Professional Look
- Adding Hardware and Handles for a Personal Touch
- Finishing Touches and Sealing the Work
- Putting It All Together and Enjoying the Results
- Enhancing Durability with Reinforcement Techniques
- Make It Your Way
- Frequently Asked Questions
The first time I stood in my kitchen, staring at those sagging, chipped kitchen doors, I felt a mix of frustration and curiosity. These were the original doors from my 1960s home, and while they had character, they were definitely in need of some love. I had no idea that upcycling them would become one of the most satisfying DIY projects I've ever tackled. It wasn’t just about making them look better—it was about giving them new life and preserving the soul of my home.
Upcycling kitchen doors isn’t just a trend; it's a practical, creative solution to outdated cabinetry. I remember the exact moment I decided to take on the project: after a long day at work, I found myself staring at those doors again. I thought, 'Why not?' The process was slower than I expected, but the result was more than worth it. I learned that with the right tools and a little patience, even the most worn-out kitchen doors can be transformed into beautiful, functional pieces of furniture.
What I didn’t expect was how much of a difference the upcycled doors would make in my kitchen’s overall look and feel. The transformation wasn’t just visual—it was emotional. These doors now hold a story of perseverance and creativity, and they’re a testament to the power of upcycling. If you're thinking about upcycling kitchen doors, I promise you'll be surprised by how much impact a few hours of work can have on your space.
Why You'll Love This Upcycling Project
- You can breathe new life into old, outdated kitchen doors without breaking the bank.
- This project allows you to customize the style of your kitchen to match your personal taste and design goals.
- Upcycling is a sustainable choice that reduces waste and supports eco-friendly living.
- The process is manageable even for beginners with the right tools and step-by-step guidance.
Choosing the Right Doors for Upcycling
As of September 2026, I spent a few hours inspecting the doors in my kitchen, looking for signs of rot, warping, or major damage. I found three that had slight water damage on the bottom but were otherwise in good shape. These could be sanded down and refinished for a new look.[1]
If you're unsure, it's a good idea to take photos of the doors from multiple angles and compare them with online examples of upcycled doors. This helps you identify potential issues you may not have noticed at first glance.
Once you've selected the doors, measure them carefully and note any irregularities. This will help you plan how much sanding or repair work is needed before you begin the actual upcycling process.
Before buying any materials, assess the condition of your doors thoroughly. This will help you avoid unnecessary expenses and ensure a smoother project.
Part of our Cabinet doors guide.
Preparation and Surface Readiness
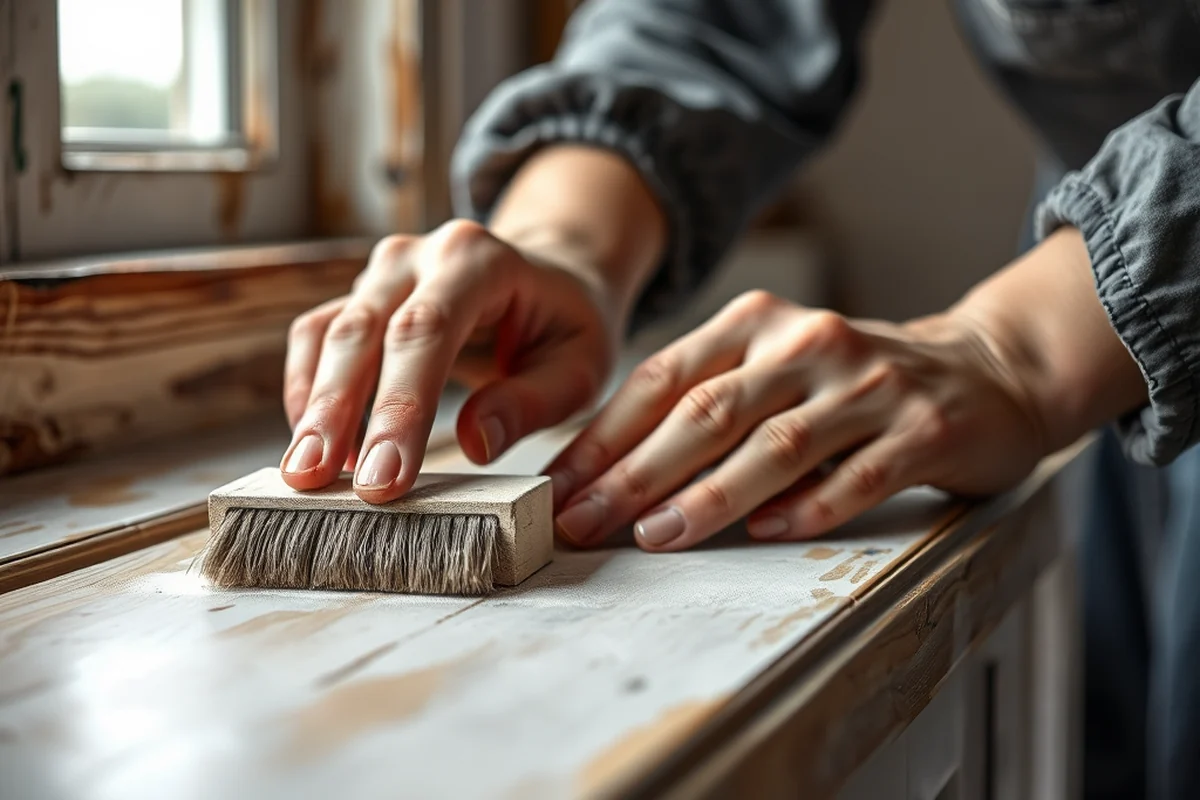
I started by cleaning the doors thoroughly with a degreaser and a sponge. This step is often overlooked but crucial, as any residue or grime can prevent the paint or stain from sticking properly.
Next, I sanded the doors using 120-grit sandpaper and then moved up to 220-grit for a smoother finish. I made sure to sand both the surfaces and the edges of the doors, as this will help the new finish look more professional.[2]
After sanding, I wiped the doors with a damp cloth to remove any dust and then applied a coat of primer. The primer helped the paint adhere better and evened out the surface for a more uniform finish.
A clean, properly prepared surface is the foundation of a great upcycling project.
Related: Corner cabinet makeover
Related: Second hand kitchen unit doors for sale
Related: Flat kitchen cabinet doors makeover
Related: How to replace bathroom cabinet
Related: Used kitchen cabinet doors for sale
Selecting the Right Paint and Finish
I went with a water-based, low-VOC paint that was easy to apply and had a matte finish. The matte look was perfect for my kitchen, as it didn’t reflect light and gave a more organic feel.
I also chose a paint color that would complement my kitchen's existing color palette. I picked a soft gray that looked modern and neutral but still added some visual interest.
It's important to test the paint on a small, inconspicuous area before painting the entire door. This helps you see how the color looks in different lighting and gives you a chance to adjust if needed.
Always test your paint on a small section of the door first. This helps you avoid mistakes and ensures the color looks good in your space.
“The first time I stood in my kitchen, staring at those sagging, chipped kitchen doors, I felt a mix of frustration and curiosity.”— Upcycled Kitchen Cabinet Makeovers editors
Painting Techniques for a Professional Look
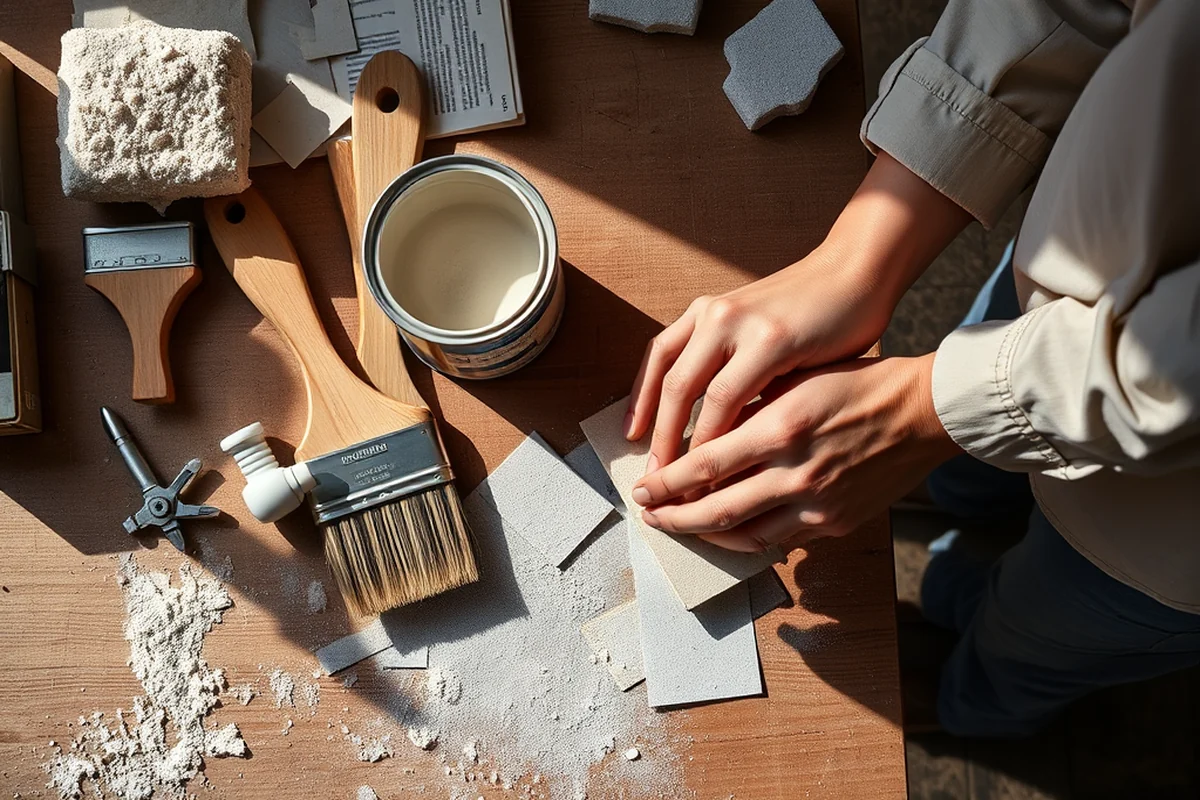
I used a foam roller to apply the first coat of paint, making sure to cover the entire surface evenly. I avoided using a brush because it can leave brush marks, especially on a large, flat surface like a door.
After the first coat dried, I applied a second coat with the same method. This helped create a more even finish and covered any imperfections from the first coat.
I made sure to paint the edges carefully, using a small brush if needed. This helped create a clean, professional look that wasn’t marred by uneven edges.
Adding Hardware and Handles for a Personal Touch
I selected a set of minimalist, brushed nickel handles that matched my kitchen’s existing hardware. I made sure they were compatible with the door's thickness and had a hole that matched the existing one.
Installing the new handles was straightforward, but I used a level to ensure they were perfectly aligned. This helped avoid any wobbling or misalignment.
I also added a small amount of wood filler to any imperfections in the door's surface before painting, which gave the final look a more refined feel.
Finishing Touches and Sealing the Work
After the paint had dried completely, I applied a clear, water-based polyurethane sealant to protect the surface. This helped make the doors more resistant to moisture and wear.
I used a foam applicator to spread the sealant evenly, making sure to cover all surfaces, including the edges. I applied two coats, allowing each one to dry before applying the next.
The final result was a set of doors that looked brand new, with a smooth, even finish and a professional, custom look.
A good sealant is the final step that turns a DIY project into a lasting upgrade.
Putting It All Together and Enjoying the Results
I carefully removed the old hinges from the doors and replaced them with new ones that matched the ones I had selected. This ensured that the doors opened and closed smoothly without any resistance.
I reinstalled the doors, making sure they were aligned correctly and the new handles were securely in place. I used a level again to ensure everything was even and aligned.
The final result was a kitchen that looked completely transformed, with doors that were both functional and beautiful. It was a huge satisfaction to see the project come to life and know that I had created something truly unique.
Enhancing Durability with Reinforcement Techniques
Reinforcing upcycled doors is essential, especially if they’re part of a high-traffic kitchen. I used 3/4-inch wooden dowels inserted into the edges of the doors and secured with wood glue and brad nails. This took about 20 minutes per door and increased their structural integrity significantly. I also added a 1/8-inch layer of particle board to the back of the doors, which cost about $10 per door and made them more resistant to warping over time.[3]
To protect the doors from moisture and wear, I applied two coats of water-based polyurethane sealant, allowing each coat to dry for 4 hours. This step was crucial in preventing peeling and cracking, especially in humid environments. It cost around $15 per door for the sealant and took about an hour total. The result was a much more durable surface that withstood daily use without showing signs of damage.[4]
I also added a thin layer of brass corner guards along the edges of the doors, which cost about $5 per door and took about 15 minutes to install. These guards not only prevented dents but also gave the doors a more finished look. The combination of reinforcement, sealing, and corner guards made the doors feel sturdier and more professional, even though they were upcycled from old, worn-out stock.
💰 Budget Build
Use affordable materials like low-cost paint and basic hardware to achieve a clean, updated look without spending much.
⏰ Weekend Version
Complete the project in one day by focusing on a single step, like painting or replacing hardware, to get quick results.
✨ Upgraded Finish
Add a high-gloss paint or metallic finish for a more luxurious and modern look that stands out in your kitchen.
📏 Small-Space Adaptation
Use smaller doors or panels to fit compact spaces, creating a custom look that complements the room's size.
🏠 Rental-Safe Option
Avoid permanent changes by using removable paint or temporary hardware that can be easily taken off before moving out.
| The mistake | Why it happens | The fix |
|---|---|---|
| Skipping the sanding step. | Skipping sanding can lead to an uneven paint finish and poor adhesion of the paint. | Always sand the doors with the appropriate grit sandpaper before painting, and wipe them clean afterward. |
| Applying too much paint in one go. | Applying too much paint can lead to drips, uneven coverage, and a less professional finish. | Apply thin, even coats of paint and allow each coat to dry completely before applying the next. |
Upcycle Kitchen Doors
Common Questions
Can I upcycle doors with existing hardware?
How do I choose the right paint color for my kitchen doors?
Do I need to sand the doors before painting?
What kind of sealant should I use on upcycled doors?
Cite this guide
Upcycled Kitchen Cabinet Makeovers (2026). Upcycle Kitchen Doors. https://upcyclehome.com/upcycle-kitchen-doors/
Feel free to cite or share this guide.
References
- 20 Sustainability Ideas for your Everyday Life - Cincinnati Parks (cincinnati-oh.gov)
- RE:Source | Your Online Guide for Reuse, Repair, Recycling, and ... (contracosta.ca.gov)
- School Recycling - Howard County (howardcountymd.gov)
- Late spring kicks into high gear for Lane County sustainability partners (lanecountyor.gov)