
Cabinet Makeover With Wallpaper
📖 Table of Contents
- Why Choose Wallpaper for Cabinet Makeovers?
- Selecting the Right Wallpaper for Your Cabinets
- Preparing Your Cabinets for Wallpaper
- Applying the Wallpaper to Your Cabinets
- Finishing Touches and Maintenance
- The Impact of a Cabinet Makeover With Wallpaper
- Creative Ways to Use Wallpaper on Cabinets
- Troubleshooting Common Issues During Wallpaper Application
- Make It Your Way
- Frequently Asked Questions
I remember the first time I saw my outdated kitchen cabinets and felt the spark of inspiration — not just for painting or staining, but for something more daring. I had always been drawn to texture and pattern, and the idea of using wallpaper on my cabinets was a game-changer. It was a way to inject personality without the permanence of paint or the cost of replacement.
The first step was researching what kind of wallpaper could withstand the humidity of a kitchen and still look stunning. I found a few options that were both moisture-resistant and peelable, which made me feel confident that this project was doable even for a first-time DIYer. I was especially drawn to the idea of adding a subtle pattern that would make my cabinets feel fresh and modern.
What surprised me most was how quickly the project came together. I spent one weekend, spent around $40 on materials, and ended up with a kitchen that looked like it had been updated by a professional. It was a revelation — simple, affordable, and wildly effective. This is how I discovered the power of a cabinet makeover with wallpaper.[1]
Why You'll Love This Cabinet Makeover With Wallpaper
- It's a budget-friendly way to refresh your kitchen with high-impact style.
- It allows for creative expression without the permanence of paint or replacement.
- It's a quick project that can be completed in under a day.
- It adds texture and depth that plain paint just can't achieve.
Why Choose Wallpaper for Cabinet Makeovers?
As of September 2026, Wallpaper offers a unique alternative to traditional cabinet refinishing methods. Unlike paint, which can be flat and unremarkable, wallpaper brings dimension and visual interest to even the most basic cabinets. I chose a subtle geometric pattern that added just the right amount of intrigue to my kitchen without overwhelming the space.[2]
What’s more, modern wallpapers are often designed with moisture resistance in mind, making them a practical choice for kitchens. I opted for a peel-and-stick option, which made the installation easier and less stressful. The result was a kitchen that felt both updated and livable — not at all like a showpiece.
This approach is ideal for those who want to experiment with design without committing to a full kitchen overhaul. It’s a low-risk, high-reward way to refresh your space.
Use a utility knife, smoothing tool, and a level to ensure even application. I found that a smoothing tool was crucial for preventing bubbles and ensuring a flat finish.
Part of our Kitchen cabinets guide.
Selecting the Right Wallpaper for Your Cabinets
Not all wallpapers are created equal, and this step is crucial for the success of the project. I spent time researching different types, focusing on those that were both moisture-resistant and peel-and-stick. I found that peel-and-stick options were the easiest to apply and remove, which was a relief for a first-time DIYer.
I also considered the pattern and color of the wallpaper. I wanted something that would add visual interest but still complement the existing kitchen decor. The geometric pattern I chose was a perfect balance — it added texture without being too busy.
I recommend testing a small sample on a cabinet before committing to the full project. It’s a small investment that can save you a lot of time and frustration later on.
Choose a wallpaper that adds texture and style without overwhelming your kitchen.
Related: Cabinet door makeover ideas
Related: Upcycling kitchen cabinets
Related: Cabinet door ideas
Related: Recycled kitchen cabinets for sale
Related: Repurposed kitchen cabinets near me
Related: What Is Pantry Cabinet
Related: What Is A Buffet Cabinet
Related: What Is Cabinet Refacing Vs Refinishing
Related: Cabinet Refacing Cost
Related: What Is Cabinet Makeover
Related: Dining Room Decor Farmhouse
Related: Top Knobs Cabinet Pulls
Related: What Is A Drawer Cabinet
Related: 4 Drawer File Cabinet
Related: What Household Items
Preparing Your Cabinets for Wallpaper
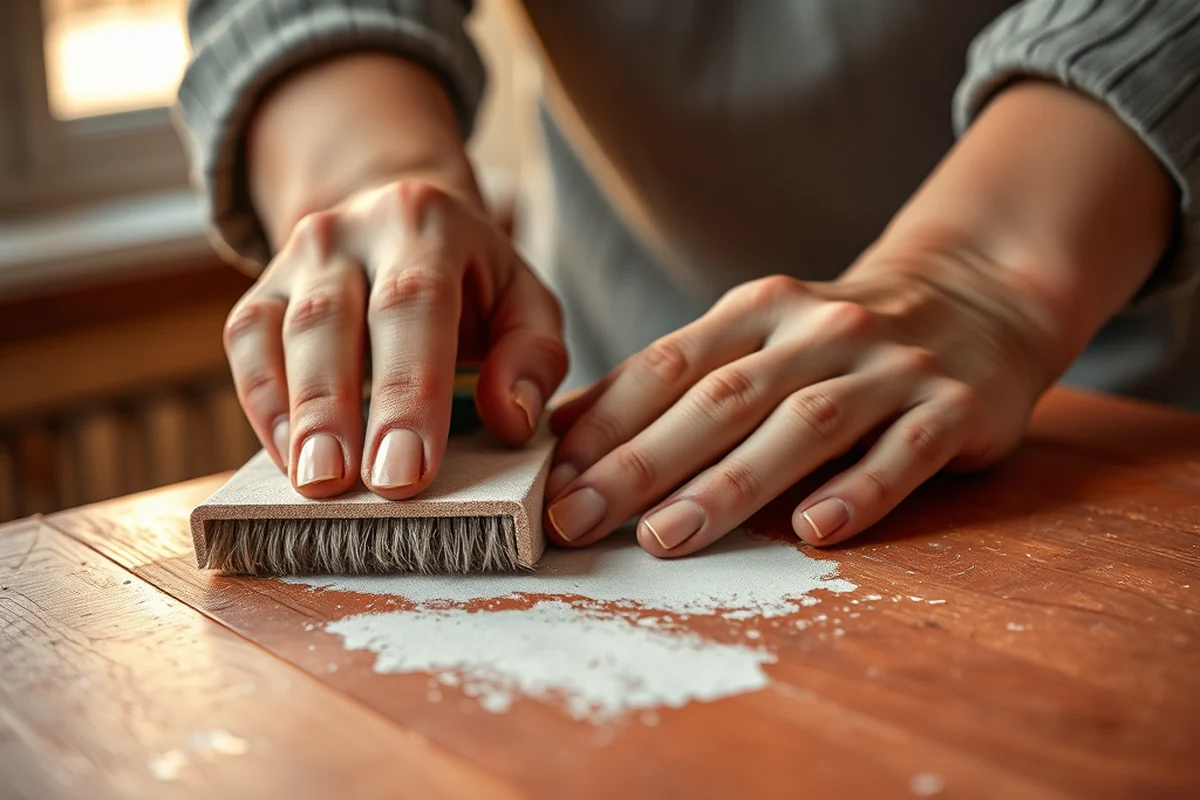
Before applying wallpaper, I made sure to clean the cabinets thoroughly. I used a degreaser to remove any grime or oils that could interfere with adhesion. Once they were clean, I lightly sanded the surfaces to create a better grip for the wallpaper.
After cleaning and sanding, I wiped the cabinets with a damp cloth to remove any dust. I also applied a primer specifically designed for smooth surfaces. This step was crucial — it ensured the wallpaper stuck properly and didn’t lift after a few weeks.
I also measured each cabinet panel carefully and cut the wallpaper slightly larger than needed, allowing for some overlap. This made the application much easier and more precise.
A primer designed for smooth surfaces will help the wallpaper stick better and last longer. I used a water-based primer that dried quickly and was easy to apply.
“I remember the first time I saw my outdated kitchen cabinets and felt the spark of inspiration — not just for painting or staining, but…”— Upcycled Kitchen Cabinet Makeovers editors
Related: What Is A Shoe Cabinet
Related: Corner Cabinet Makeover
Related: Shoe Storage Cabinet
Related: What Is A Flammable Storage Cabinet
Related: 3 Drawer File Cabinet
Applying the Wallpaper to Your Cabinets
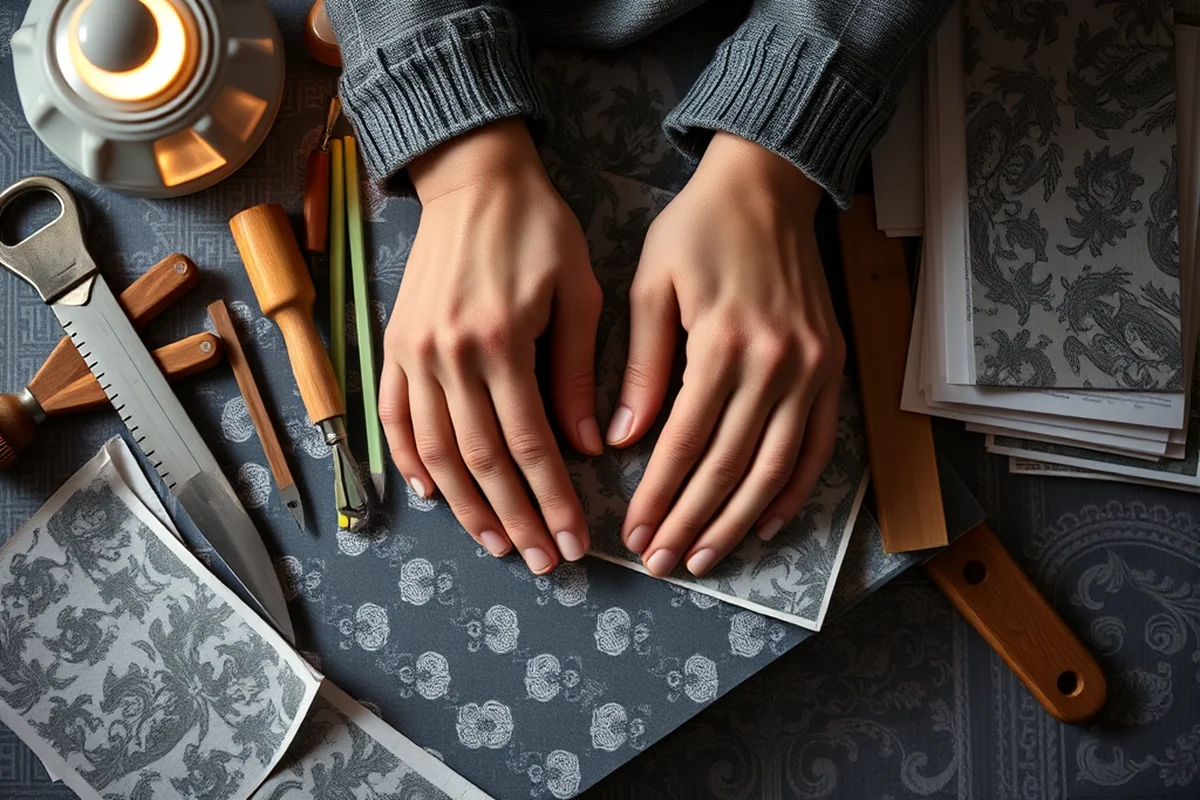
I started by cutting the wallpaper into manageable sections, making sure each piece was slightly larger than the cabinet panel. I then applied a generous amount of adhesive to the back of the wallpaper and carefully placed it on the cabinet, smoothing it out as I went.
I used a smoothing tool to press the wallpaper firmly against the surface, working from the center outward to remove any air bubbles. I made sure to keep the wallpaper taut and aligned properly, using a level to ensure even application.
Once I had applied the wallpaper to all the panels, I trimmed the excess with a utility knife and sealed the edges with a clear adhesive. The process was meticulous, but the result was worth every minute of effort.
Related: Shaker Cabinet Doors
Related: What Is A Corner Curio Cabinet
Finishing Touches and Maintenance
Once the wallpaper was in place, I used a seam roller to press down any seams, making them less visible. I also applied a clear sealant over the entire surface to protect it from moisture and scratches. This step was especially important for the kitchen, where humidity and cleaning could be a concern.
I found that the sealant not only protected the wallpaper but also gave it a slightly more polished look. It made the surface easier to clean and more resistant to wear and tear.
After the sealant dried, I stepped back and admired the transformation. The cabinets looked brand new, and I felt a sense of pride in having completed the project myself.
Related: Flat Kitchen Cabinet Doors Makeover
The Impact of a Cabinet Makeover With Wallpaper
The impact of this project was immediate and unexpected. My kitchen, which had felt outdated and drab, now had a fresh, modern look that I loved. The wallpaper added texture and depth in a way that paint simply couldn’t achieve.
What I didn’t expect was how much the new cabinets boosted my confidence in my DIY skills. I had always been hesitant to take on larger projects, but this one was manageable and satisfying.
Even my friends commented on the transformation, and I was surprised at how many of them had never considered using wallpaper on cabinets before.
A small project can make a big difference in your home.
Creative Ways to Use Wallpaper on Cabinets
I love how versatile wallpaper can be. I used it on just one set of cabinets to create a focal point in the kitchen, and it worked beautifully. The rest of the cabinets were left as they were, giving the space a balanced but updated look.
Another option is to use wallpaper on a single cabinet or even on the back of a drawer. It’s a subtle way to add character without overcommitting. I tried this on a small cabinet near the sink, and it was a great way to test the idea before doing a full makeover.
For those with smaller kitchens, using wallpaper on one panel or a few drawers can be an easy, affordable way to add a pop of style without overwhelming the space.
Troubleshooting Common Issues During Wallpaper Application
I encountered a problem with the wallpaper not adhering properly to the edges of my cabinets, which I later realized was due to the adhesive being too thin in those areas. To fix this, I used a small brush to apply a thin layer of adhesive directly to the edges before placing the wallpaper. This technique took about 5 minutes per cabinet and significantly improved the adhesion. It’s a simple but effective step that can prevent future peeling or lifting.
When working with patterned wallpaper, aligning the design precisely can be challenging, especially on irregularly shaped cabinets. I used a level and a pencil to mark the center of each cabinet, then aligned the wallpaper accordingly. This took about 10 minutes per cabinet and ensured the pattern was consistent and symmetrical. I also used a seam roller to press the seams flat, which helped them blend seamlessly into the design.
If you're working with a textured wallpaper, it’s important to avoid using too much adhesive, as it can cause the paper to sag or become misaligned. I used a light touch with my roller, applying just enough pressure to secure the paper without flattening the texture. This method took about 20 minutes per cabinet and preserved the design’s visual appeal while ensuring a firm, long-lasting finish.
💰 Budget Build
Use affordable, peel-and-stick wallpaper and skip the primer for a quick, low-cost update.
⏳ Weekend Version
Complete the entire project in one day using pre-cut wallpaper and a few basic tools.
✨ Upgraded Finish
Add a water-resistant sealant and choose a high-end wallpaper for a more polished look.
🏠 Small-Space Adaptation
Use wallpaper on only one or two cabinets to create a focal point in a small kitchen.
🔒 Rental-Safe Option
Use removable wallpaper that won’t damage the cabinets when it’s time to move out.
| The mistake | Why it happens | The fix |
|---|---|---|
| Not cleaning the cabinets properly before applying wallpaper. | Dirt and grime can prevent the wallpaper from adhering properly, leading to peeling or lifting over time. | Always clean the cabinets with a degreaser and wipe them down thoroughly before applying wallpaper. |
| Skipping the primer step. | Primer helps the wallpaper stick better and lasts longer, especially on smooth surfaces like cabinets. | Apply a water-based primer designed for smooth surfaces before applying wallpaper. |
| Overlapping the wallpaper too much. | Excessive overlapping can cause visible seams and a less professional look. | Cut the wallpaper slightly larger than the panel and apply it with minimal overlap for a cleaner finish. |
Cabinet Makeover With Wallpaper
Common Questions
Can I use regular wallpaper on my cabinets?
Do I need to paint my cabinets before applying wallpaper?
How long does wallpaper last on cabinets?
Can I remove wallpaper from cabinets without damaging them?
Cite this guide
Upcycled Kitchen Cabinet Makeovers (2026). Cabinet Makeover With Wallpaper. https://upcyclehome.com/cabinet-makeover-with-wallpaper/
Feel free to cite or share this guide.
References
- Adult Numeracy Themes: - Ohio Literacy Resource Center (literacy.kent.edu)
- 30 Day Interior Makeover Challenge - NYIAD Design Articles (nyiad.edu)