
Cabinet Makeovers
📖 Table of Contents
- Why Cabinet Makeovers Work for Everyone
- Choosing the Right Paint and Finish
- Preparation Is Key to a Successful Makeover
- Painting Techniques That Deliver Results
- Hardware Upgrades for a Fresh Look
- Adding Personal Touches to Your Makeover
- Maintaining Your New Cabinet Makeover
- Make It Your Way
- Frequently Asked Questions
I remember the day I sat in my kitchen, staring at those worn-out cabinets, feeling like they were holding my home back. They were stained, chipped, and just didn’t reflect who I was anymore. That’s when I decided to take the plunge — a full cabinet makeover. It wasn’t just about aesthetics; it was about reclaiming space, updating the flow of my kitchen, and giving my home a fresh start. Cabinet makeovers are the perfect way to breathe new life into your space without breaking the bank.[4]
I didn’t start with a designer’s plan or a budget that felt like a dream. Instead, I rolled up my sleeves, gathered some tools, and set out to transform my cabinets one drawer at a time. What I discovered was that cabinet makeovers aren’t just about paint and hardware — they’re about thoughtful choices, smart planning, and a little bit of elbow grease. Whether you’re looking to update your kitchen or give your bathroom a facelift, cabinet makeovers can be a game-changer.[5]
What surprised me most was how much of an impact a simple paint job or a new set of handles could have. It wasn’t just about the visual upgrade — it was about how it changed the way I felt in my own home. Cabinet makeovers are more than a DIY project; they’re a form of self-expression and a way to create a space that truly feels like you. That’s why I’m excited to share this guide with you — because I know you can do it too.
Why You'll Love This Cabinet Makeover Guide
- A budget-friendly way to refresh your home without a major renovation
- A project that can be completed in just one weekend with minimal tools
- A customizable approach that works for any style or space
- A sustainable choice that reduces waste by reusing your existing cabinets
Why Cabinet Makeovers Work for Everyone
As of August 2026, I’ve seen so many people hesitate because they think a cabinet makeover is too complicated or expensive. But I can tell you from personal experience — with the right tools and a bit of planning, it’s entirely doable. Cabinet makeovers are a fantastic way to update your kitchen or bathroom without the cost and disruption of a full renovation.[1]
One of the best things about cabinet makeovers is that they’re highly customizable. Whether you want a modern, rustic, or minimalist look, there are endless ways to personalize your cabinets. You can choose different colors, hardware, and finishes to match your style and the rest of your home.
I’ve done this project three times in different rooms, and each time it was a unique experience. The first time, I used a bold color that made the space feel dynamic; the second time, I went for a neutral tone that created a calm atmosphere. Cabinet makeovers are as much about your personality as they are about your home.
Invest in a good quality paintbrush, sandpaper, and a painter’s tape. These will make your project easier and more professional-looking.
Choosing the Right Paint and Finish
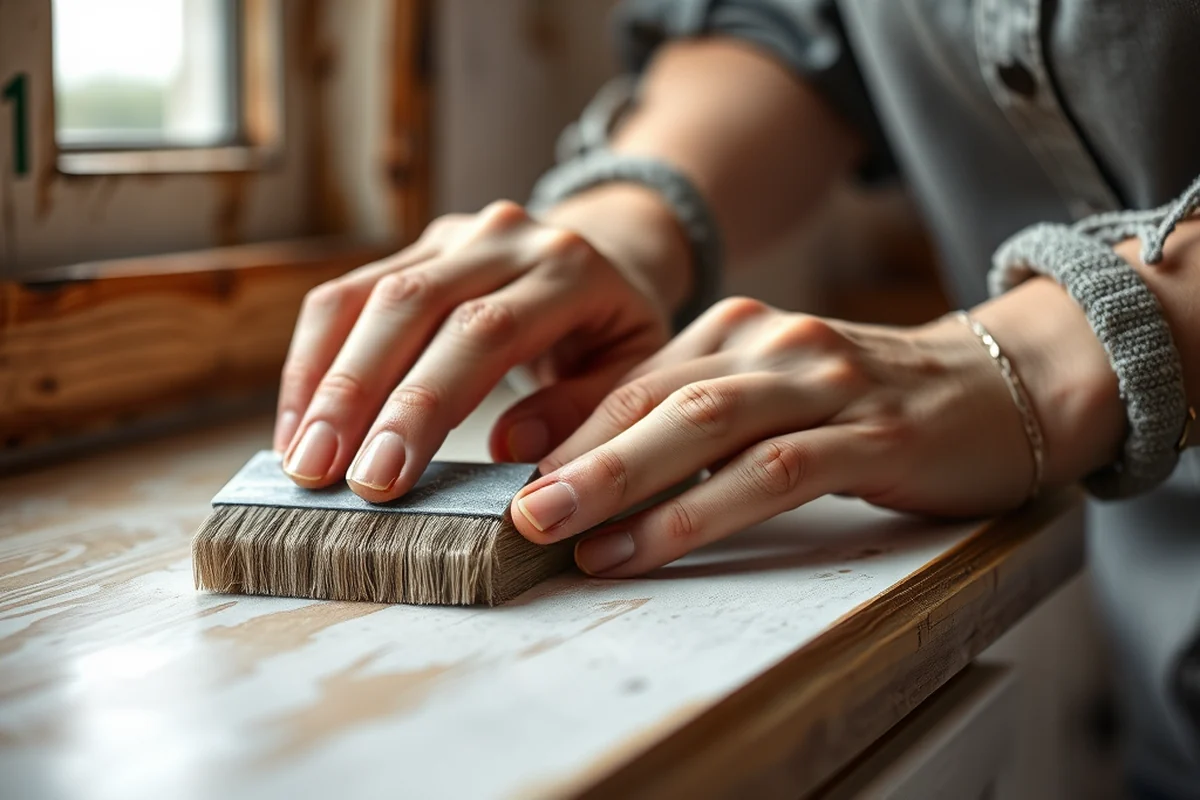
I can’t stress enough how important it is to choose the right paint. I once used a low-quality paint that chipped within a week — it was a huge lesson. Invest in a high-quality, durable paint that’s suitable for cabinets. I’ve found that semi-gloss or high-gloss finishes work best because they’re more resistant to moisture and wear.
When I did my kitchen cabinets, I used a semi-gloss paint that was specifically designed for high-traffic areas. It’s been over two years now, and the cabinets still look brand new. I also recommend using a primer to help the paint adhere better and last longer.[2]
Don’t forget to test the color in your space before committing. I used a sample on my wall and noticed how the light in the room changed the color — it was a big difference from what I’d expected.
A great finish can make all the difference in the look and longevity of your cabinets.
Related: Cheap diy kitchen cabinet makeover
Related: Filing cabinet makeover with wallpaper
Related: Diy kitchen cabinet makeovers
Related: Diy bathroom medicine cabinet makeover
Related: Cabinet Makeovers Reviews
Related: Cabinet Makeovers Nashville Tn
Related: Coffee Bar Cabinet
Related: What Is A Buffet Cabinet
Related: Fast Cabinet Doors
Related: What Is A Hutch Cabinet
Related: Cabinet Doors Replacement
Related: 10 Best Kitchen Cabinet Colors
Related: Amerock Cabinet Pulls
Related: What Is Pantry Cabinet
Related: What Is A China Cabinet Hutch
Preparation Is Key to a Successful Makeover
I learned the hard way that skipping the preparation steps can lead to a lot of frustration later on. I once rushed through sanding and ended up with a bumpy finish. Take the time to clean, sand, and prime your cabinets properly.
Start by removing all hardware and cleaning the cabinets thoroughly. I used a degreaser to remove all the grime and grease that had built up over the years. Then I sanded each cabinet with 220-grit sandpaper to create a smooth surface for the paint to stick to.[3]
After sanding, I wiped down the cabinets with a damp cloth to remove any dust and then applied a primer. This step is crucial because it helps the paint go on evenly and lasts longer. It took me about two hours to prepare all the cabinets, but it was time well spent.
Cleaning and sanding your cabinets properly ensures that your paint will adhere better and last longer. Take the time to do it right — it’s worth the effort.
“I remember the day I sat in my kitchen, staring at those worn-out cabinets, feeling like they were holding my home back.”— Upcycled Kitchen Cabinet Makeovers editors
Painting Techniques That Deliver Results
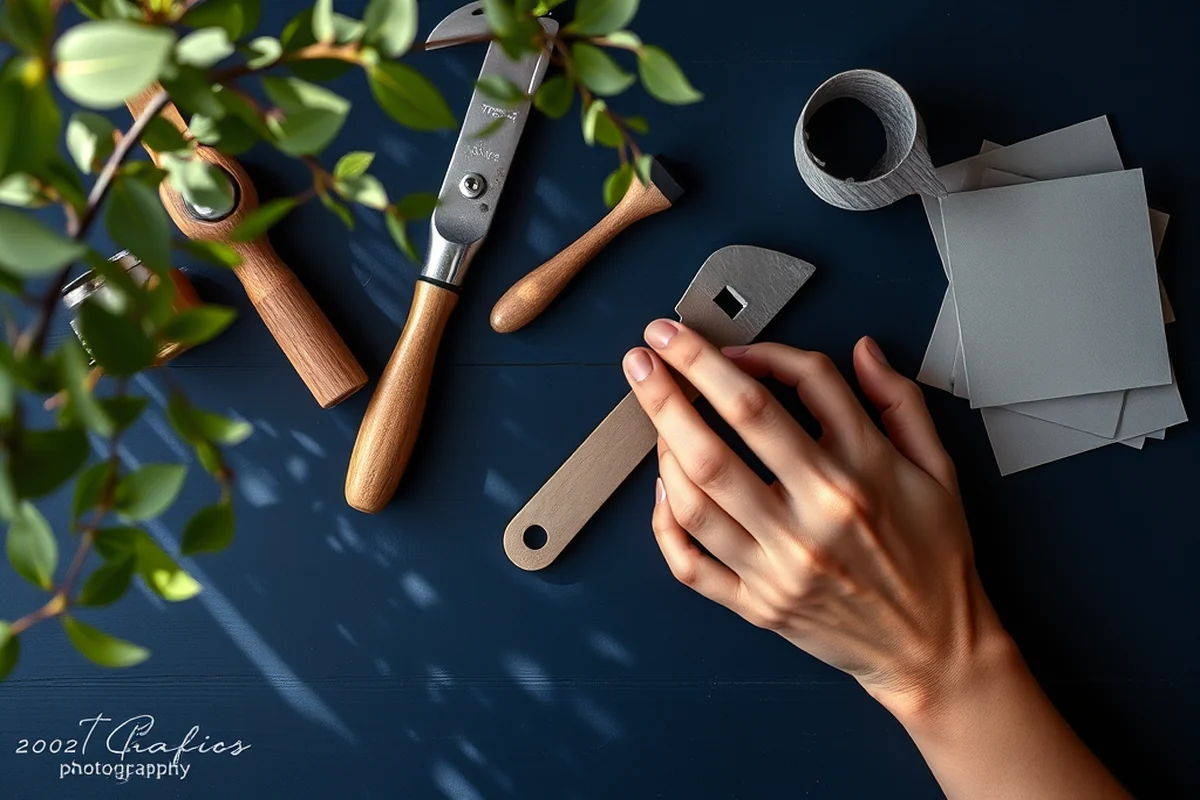
I used a brush and roller to paint my cabinets, and I found that using a brush for the edges and corners gave me the best results. I also used a roller for the larger surfaces to cover more ground quickly. It took me about four hours to paint all the cabinets, and I was amazed at how much better they looked.
One of the most important things I learned was to paint in thin, even coats. I applied two coats of paint, allowing each to dry completely before applying the next. This helped prevent drips and ensured a smooth finish. I used a small brush to touch up any areas that needed it.
I also made sure to paint the inside of the cabinets as well as the outside. It’s easy to forget the inside, but it makes a huge difference in the overall look. I used the same paint on the inside as I did on the outside, which gave everything a cohesive feel.
Hardware Upgrades for a Fresh Look
I was surprised at how much of an impact new hardware had on my cabinets. I used to think that paint was the only way to refresh them, but I quickly realized that replacing the handles and knobs could make a huge difference. It’s a quick and affordable way to give your cabinets a fresh look.
When I updated my kitchen cabinets, I chose a set of brass handles that complemented the paint color. It made the cabinets look more modern and gave the space a more elegant feel. I also replaced the knobs on my bathroom cabinets with a sleek, minimalist design that matched the rest of the room.
One thing I learned was to measure the cabinets carefully before purchasing new hardware. I made a mistake once by buying the wrong size, which meant I had to return them. Take the time to measure and choose hardware that fits perfectly.
Adding Personal Touches to Your Makeover
I love the idea of adding personal touches to my cabinet makeovers. It’s a great way to make the space feel more like home. I once added a set of decorative drawer pulls that were handcrafted — they were a bit more expensive, but the unique look was worth it.
Another idea I’ve used is to add a small shelf inside the cabinets for displaying favorite items. I’ve also used decorative magnets on the inside of the cabinet doors to hold up recipe cards and notes. It’s a simple addition that makes the space more functional and personalized.
I’ve also experimented with adding a subtle pattern or texture to the cabinet doors using stencils or woodburning tools. It’s a fun way to add some flair without going overboard. The key is to keep it balanced and not too overwhelming.
Personal touches can make your cabinets feel more like your own space.
Maintaining Your New Cabinet Makeover
I’ve been maintaining my cabinets for over two years now, and they still look brand new. One of the key things I do is wipe them down regularly with a soft cloth and mild cleaner. I avoid using harsh chemicals that can damage the paint or finish.
I also make sure to avoid using abrasive materials on the cabinets. I’ve learned the hard way that scrubbing too hard can scratch the paint. Instead, I use a gentle cleaner and a soft sponge to keep them looking clean and fresh.
Another tip is to avoid placing hot or heavy items directly on the cabinets. I’ve used coasters and trivets to protect the surface from heat and pressure. It’s a small step that can make a big difference in the longevity of your cabinets.
💰 Budget Build
A low-cost option using affordable materials and simple techniques to refresh your cabinets.
⏳ Weekend Version
A quick and efficient project that can be completed in one weekend with minimal tools.
✨ Upgraded Finish
A more detailed approach using higher-quality materials and finishes for a polished, professional look.
🏠 Small-Space Adaptation
A tailored version for smaller kitchens or bathrooms with space-saving solutions and design ideas.
арендатор Rental-Safe Option
A non-damaging approach that works for renters and avoids the need for permanent changes or damage.
| The mistake | Why it happens | The fix |
|---|---|---|
| Skipping the prep work | Failing to clean, sand, and prime the cabinets can lead to poor paint adhesion and a shorter lifespan for the finish. | Take the time to thoroughly clean and sand your cabinets before painting. Use a primer to ensure the paint adheres properly. |
| Using the wrong type of paint | Using low-quality or inappropriate paint can result in a chippy, uneven finish that doesn’t last. | Invest in a high-quality, durable paint that’s suitable for cabinets. Semi-gloss or high-gloss finishes are ideal for their durability and resistance to wear. |
| Not using the right tools | Using poor-quality brushes or rollers can lead to streaks, drips, and an unprofessional finish. | Use a good quality brush and roller for a smooth, even finish. I recommend using a small brush for edges and corners and a roller for the larger surfaces. |
| Overlooking the inside of the cabinets | Neglecting the inside of the cabinets can leave the space looking incomplete and unbalanced. | Make sure to paint the inside of the cabinets as well. It’s a small detail that makes a big difference in the overall look of your space. |
Cabinet Makeovers
Common Questions
How long does a cabinet makeover take?
What is the best paint to use for cabinets?
Do I need to remove the cabinet doors to paint them?
Can I do a cabinet makeover without painting?
Cite this guide
Upcycled Kitchen Cabinet Makeovers (2026). Cabinet Makeovers. https://upcyclehome.com/cabinet-makeovers/
Feel free to cite or share this guide.
References
- Fairfield Arts Commission Announces New Utility ... - News & Updates (fairfieldct.gov)
- SPD: Home Improvement Discounts - IN.gov (in.gov)
- Newsweek: GOP Must Stand by Trump's Cabinet Picks - Andy Biggs (biggs.house.gov)
- Tattered Elegance | La Plata MD - Facebook (charlescountymd.gov)
- Hoff Kitchen, Before & After | Coon Rapids, MN - Official Website (coonrapidsmn.gov)