
101 Craft Kitchen
📖 Table of Contents
- Measuring and Planning: The Foundation of Every Cabinet Makeover
- Sanding and Prep: The Secret to a Flawless Paint Job
- Choosing the Right Paint and Finish: A Matter of Style and Longevity
- Hardware Upgrades: A Simple Way to Transform the Look of Your Cabinets
- Adding Storage and Organization: Maximizing the Functionality of Your Kitchen
- Sealing the Deal: Protecting Your New Cabinet Finish
- Finishing Touches: Making It All Feel Like Home
- Make It Your Way
- Frequently Asked Questions
I still remember the day I walked into my first upcycled kitchen cabinet makeover project — a cluttered, outdated kitchen that had seen better days. The cabinets were warped, the hardware was tarnished, and the color was so faded it felt like it was trying to hide. But I knew, deep down, that with the right tools, paint, and a little elbow grease, this kitchen could be transformed into something beautiful. That project became the foundation for what would eventually turn into '101 Craft Kitchen,' a blog dedicated to helping people bring their own kitchen dreams to life with DIY and furniture projects.[1]
Over the years, I’ve turned countless old cabinets into stunning, functional pieces of furniture. Each project has taught me something new, whether it was about sanding techniques, paint finishes, or how to measure and plan for a perfect fit. I’ve learned that upcycling is not just about saving money — it’s about adding value, preserving history, and creating something that’s uniquely yours. The phrase '101 Craft Kitchen' wasn’t just a name; it was a promise to myself and to my readers to explore every possible way to bring creativity into our homes.[2]
Today, I want to share with you how I turned that initial, cluttered kitchen into a space that now feels like a curated gallery of craftsmanship. The transformation didn’t happen overnight. It took time, patience, and a willingness to experiment with different tools and materials. The result? A kitchen that not only looks stunning but feels like it was built with care, and one that proves that even the most tired cabinets can be reborn with the right approach.
Why You'll Love This Kitchen Cabinet Makeover
- Transform outdated cabinets into a personalized, stylish focal point.
- Save money instead of replacing entire cabinets with new ones.
- Customize your kitchen to match your unique style and preferences.
- Learn sustainable home improvement practices with upcycling.
Measuring and Planning: The Foundation of Every Cabinet Makeover
As of September 2026, I always start with a tape measure and a notepad. I measure each cabinet, noting the height, width, and depth. This helps me determine how much paint I’ll need and ensures I’m not overbuying. It also helps me spot any inconsistencies — like a cabinet that’s slightly off-center — which can cause issues later.
I take photos of the current setup and sketch a rough layout of the space. This is especially helpful if I’m replacing old hardware or adding new storage elements. I’ve learned that planning ahead saves time and prevents unnecessary trips to the store.
I also consider the flow of the kitchen. How will the cabinets function after the makeover? Will I need additional shelves or pull-out drawers? These questions shape the overall design and help me make informed decisions before I even pick up a paintbrush.
A laser level is a game-changer when aligning cabinets. It ensures everything is perfectly level and straight, which is crucial for a polished look.
Sanding and Prep: The Secret to a Flawless Paint Job
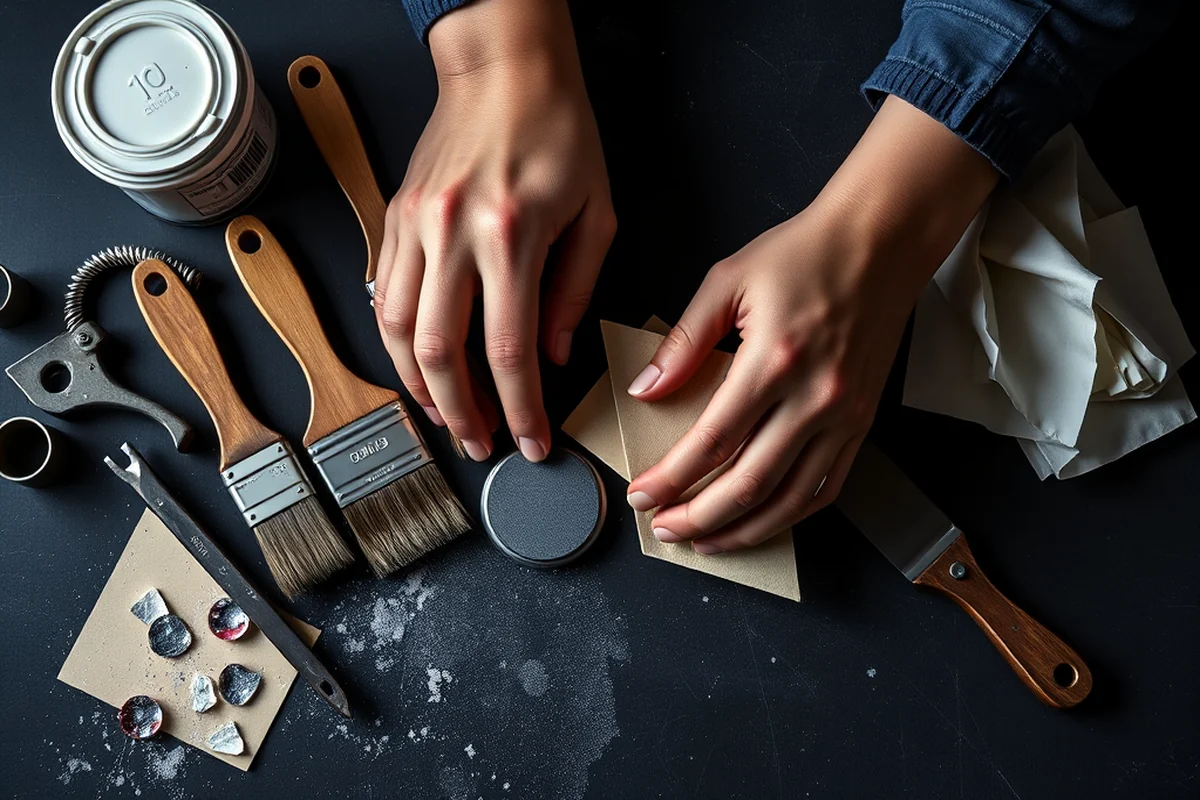
I always start by sanding the cabinets with 120-grit sandpaper. This removes old paint, stains, and imperfections. I go over each surface thoroughly, paying special attention to corners and edges. After sanding, I wipe down the cabinets with a damp cloth to remove all dust — even the smallest particles can ruin a paint job.
If the cabinets are particularly old or damaged, I may use a degreaser or wood cleaner to remove built-up grime and residue. I’ve found that using a mixture of water and vinegar works well for this step. It’s affordable and effective.
Once everything is clean and dry, I apply a primer. This step is crucial for ensuring the paint adheres properly and lasts longer. I use a high-quality primer and apply it evenly with a brush or roller.
A little prep goes a long way — skip this step, and you’ll be repainting in no time.
Related: Kitchen island design ideas
Choosing the Right Paint and Finish: A Matter of Style and Longevity
I always go for a high-quality, water-based paint — like Sherwin-Williams or Benjamin Moore. These brands are durable and resistant to moisture, which is a must in a kitchen. I’ve learned that using a satin or semi-gloss finish works best for cabinets. It’s easy to clean and adds a subtle sheen that makes the space look more modern.
I always test the color on a small section of the cabinet before painting the entire thing. This helps me see how the color looks in natural light and under different lighting conditions. I’ve found that a light gray or white often works best in a kitchen, but I’ve also used bold colors in accent cabinets for a pop of personality.
I apply the paint in thin, even coats. I let each coat dry completely before applying the next one. I’ve found that two coats are usually enough, but I may do a third if the color is especially dark or if I want a more opaque finish.
Painting in natural light is important — it helps you see the true color and finish of the paint. Avoid painting in low light, as it can lead to unexpected results.
“I still remember the day I walked into my first upcycled kitchen cabinet makeover project — a cluttered, outdated kitchen that had seen better days.”— Upcycled Kitchen Cabinet Makeovers editors
Hardware Upgrades: A Simple Way to Transform the Look of Your Cabinets
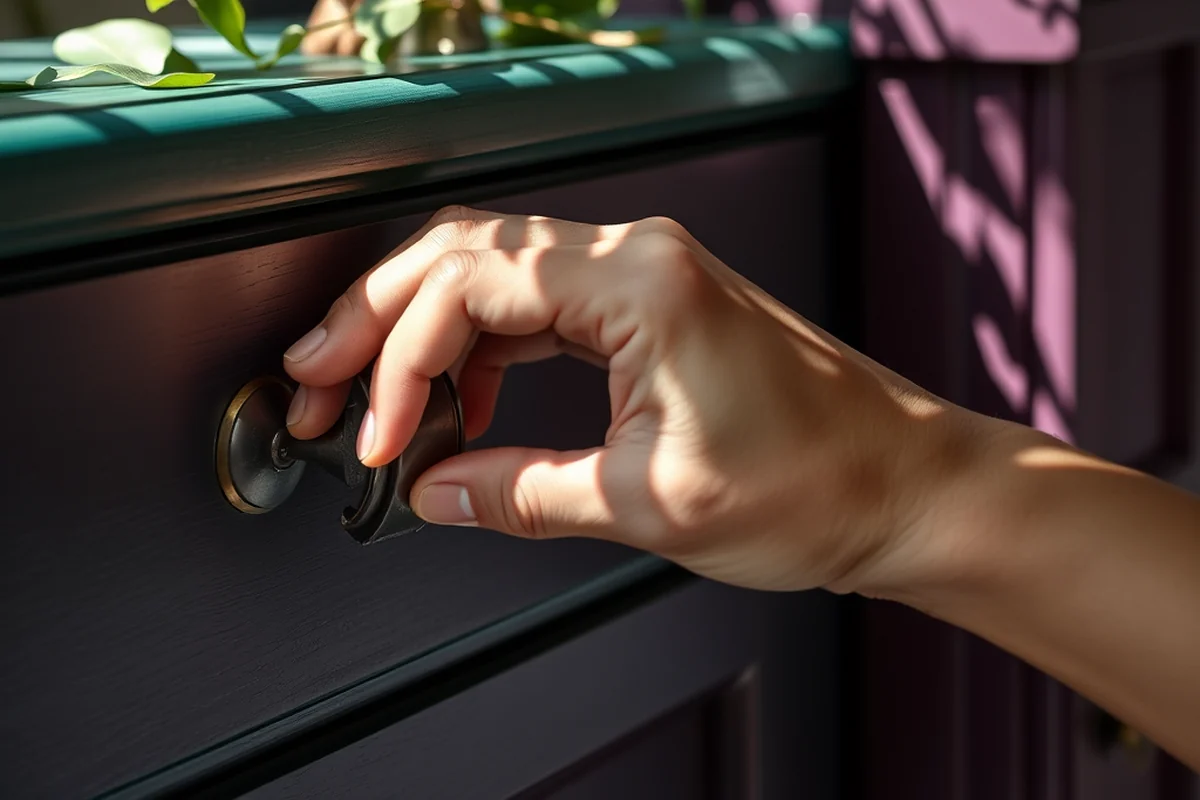
I always start by removing the old hardware. I use a screwdriver or a hardware puller to take out the old knobs or handles. I clean the holes and inspect them for any damage. If there are any dents or gouges, I may need to fill them with wood putty before proceeding.
I choose new hardware based on the style of my kitchen. If I want a modern look, I go for sleek, minimalist handles. For a more traditional feel, I might choose ornate knobs. I’ve found that brass or oil-rubbed bronze finishes add a timeless elegance to any kitchen.
Installing the new hardware is simple. I just screw the new pieces into the holes. I make sure they’re tight and level. Once everything is installed, I wipe down the cabinets one last time to remove any dust or fingerprints.
Adding Storage and Organization: Maximizing the Functionality of Your Kitchen
I often add new shelves or pull-out drawers to my cabinets. These additions can help maximize storage space and make daily tasks easier. I’ve used wood slats to create open shelves in my upper cabinets, which add a rustic, custom feel.
I also install drawer dividers or inserts to keep utensils and tools organized. These small details can make a big difference in how functional your kitchen feels. I’ve found that using soft-close hinges on cabinet doors is another great upgrade. It adds a touch of luxury and prevents loud slamming.
If I’m working with a small kitchen, I might add a lazy Susan to a corner cabinet or install a spice rack inside a cabinet. These changes help maximize the use of every inch of space and make the kitchen more efficient.
Sealing the Deal: Protecting Your New Cabinet Finish
I always apply a clear sealant over the paint. This helps protect it from moisture, spills, and daily wear and tear. I’ve used a water-based polyurethane or a spray-on clear coat. I apply it in thin, even layers and let each layer dry before adding the next one.
I’ve found that sealing the cabinets not only extends the life of the paint but also makes them easier to clean. I can wipe them down with a damp cloth without worrying about the paint peeling or chipping. This is especially important in a kitchen where spills and splatters are common.
I take my time with this step — rushing it can lead to an uneven finish or missed spots. I’ve learned that a little patience here goes a long way in ensuring the cabinets look and function perfectly for years to come.
Seal it, and you’ll thank yourself every time you open a cabinet door.
Finishing Touches: Making It All Feel Like Home
Once everything is painted, sealed, and upgraded, I take a step back and assess the overall look. I check for any imperfections or inconsistencies and make adjustments as needed. I’ve found that a second pass with a fine-grit sandpaper can help smooth out any rough spots or uneven paint.
I also install new lighting if needed. Soft, ambient lighting can make a big difference in how a kitchen looks and feels. I’ve used LED strip lights under my cabinets to add a warm glow and highlight the new finish.
Finally, I clean everything thoroughly. I wipe down the cabinets with a microfiber cloth to remove any dust or smudges. I also ensure that all hardware is properly aligned and functioning. Once everything is perfect, I step back and enjoy the transformation — a kitchen that now feels like it was built just for me.
💰 Budget Build
Repaint your cabinets with a basic paint finish and use hardware from a local thrift store to keep costs low.
⏰ Weekend Version
Complete a simple repaint and hardware upgrade in one day with minimal tools and effort.
✨ Upgraded Finish
Add a high-end paint finish, custom hardware, and a durable sealant for a polished, professional look.
🛋️ Small-Space Adaptation
Focus on maximizing storage with pull-out drawers, shelves, and vertical organization for compact kitchens.
🏡 Rental-Safe Option
Use removable paint and temporary hardware that won’t damage the cabinets or leave any marks.
| The mistake | Why it happens | The fix |
|---|---|---|
| Skipping the primer step. | Without a primer, the paint won’t adhere well and may chip or flake after a short time. | Always apply a primer before painting to ensure a smooth, lasting finish. |
| Painting in low light. | Painting in dim lighting can lead to color mismatches or uneven application. | Paint in a well-lit area, ideally with natural light, to see the true color and finish. |
| Not cleaning the cabinets properly. | Dust, grime, or old residue can prevent the paint from sticking and create a patchy finish. | Wipe down the cabinets thoroughly with a damp cloth before painting to remove any dirt or debris. |
101 Craft Kitchen
Common Questions
How do I ensure the paint sticks to the cabinets properly?
What tools do I need for this project?
Can I do this project if I’ve never painted before?
How long does the paint take to dry?
References
- Eric Dantis | Princeton University Art Museum (artmuseum.princeton.edu)
- ADMINISTRATION FOR NATIVE AMERICANS (acf.gov)
Cite this guide
Upcycled Kitchen Cabinet Makeovers (2026). 101 Craft Kitchen. https://upcyclehome.com/101-craft-kitchen/
Feel free to cite or share this guide.