
How To Touch Up Bathroom Cabinets
📖 Table of Contents
- Assessing the Damage: What You Need to Know Before You Start
- Choosing the Right Paint: The Secret to a Durable Finish
- Sanding: The Often-Overlooked Step That Makes All the Difference
- Priming: The Key to a Flawless Paint Job
- Painting: The Big Moment—Getting It Right the First Time
- Sealing: Protecting Your Work for the Long Haul
- The Final Touch: Putting It All Together
- Make It Your Way
- Frequently Asked Questions
I still remember the day I stood in my bathroom, staring at the chipped, discolored cabinets that had once been a proud part of my home. They looked like they had been through a war, and I knew I needed to do something. After years of ignoring the damage, I finally rolled up my sleeves and decided to touch up my bathroom cabinets. It wasn’t just about making them look better—it was about giving my space a new lease on life. That decision led me down a path of discovery, where I learned that even the most worn-out cabinets could be transformed with the right techniques and a little patience.
Touching up bathroom cabinets isn’t just a DIY project—it’s a way to breathe new life into your home without the cost of a full replacement. I’ve spent the last few years working on various furniture projects, and I can say with confidence that updating cabinets is one of the most satisfying. The right tools, materials, and methods can change the entire look of a room, making it feel fresh, clean, and modern. And the best part? You don’t need to be a professional to do it right. With the right guidance, anyone can give their cabinets a face-lift. ($3,000, govinfo.gov)[1]
What I learned through this journey is that the key to a successful bathroom cabinet makeover lies in preparation and attention to detail. I used a combination of sanding, painting, and sealing techniques that worked for my specific cabinets, and I want to share those insights with you. Whether your cabinets are peeling, scratched, or just looking tired, there are ways to make them look brand new again. It’s not just about the end result—it’s about the process, the satisfaction of seeing your hard work pay off, and the joy of transforming a space that’s all yours.
Why You'll Love This Cabinet Touch-Up Process
- It’s a cost-effective way to refresh your bathroom without the expense of a full renovation.
- You can customize the look to match your home’s style, from modern to rustic.
- The process is surprisingly simple and achievable for most DIYers.
- It adds value to your home and can even increase resale potential.
Assessing the Damage: What You Need to Know Before You Start
As of August 2026, the first step in any cabinet makeover is to take a close look at your current situation. Are the cabinets warped or damaged beyond repair? Is the paint peeling, or is it just faded? I found that my cabinets had a few dents and some light scratches, but nothing too severe. It was a good sign, but I had to be careful not to overlook any hidden issues. I used a flashlight to check behind the corners and under the edges, where damage often goes unnoticed.
Next, I examined the type of material your cabinets are made from. Mine were made of particle board, which is common in budget-friendly cabinets, and I knew that meant I needed a strong, moisture-resistant seal. If you have solid wood cabinets, the approach might be slightly different. I also checked the current paint finish—mine was a dull white, and I knew that repainting would be the best way to go.
Once I had a clear picture of the damage and the materials involved, I could move on to the next step. Understanding your starting point is key to planning the right approach. It’s not just about making things look better—it’s about making sure your new finish will hold up in a high-moisture environment like a bathroom.
Before you start, run a flashlight along the edges and corners of your cabinets. Use a checklist to note any damage, type of material, and current paint condition. This helps you avoid surprises later.
Choosing the Right Paint: The Secret to a Durable Finish
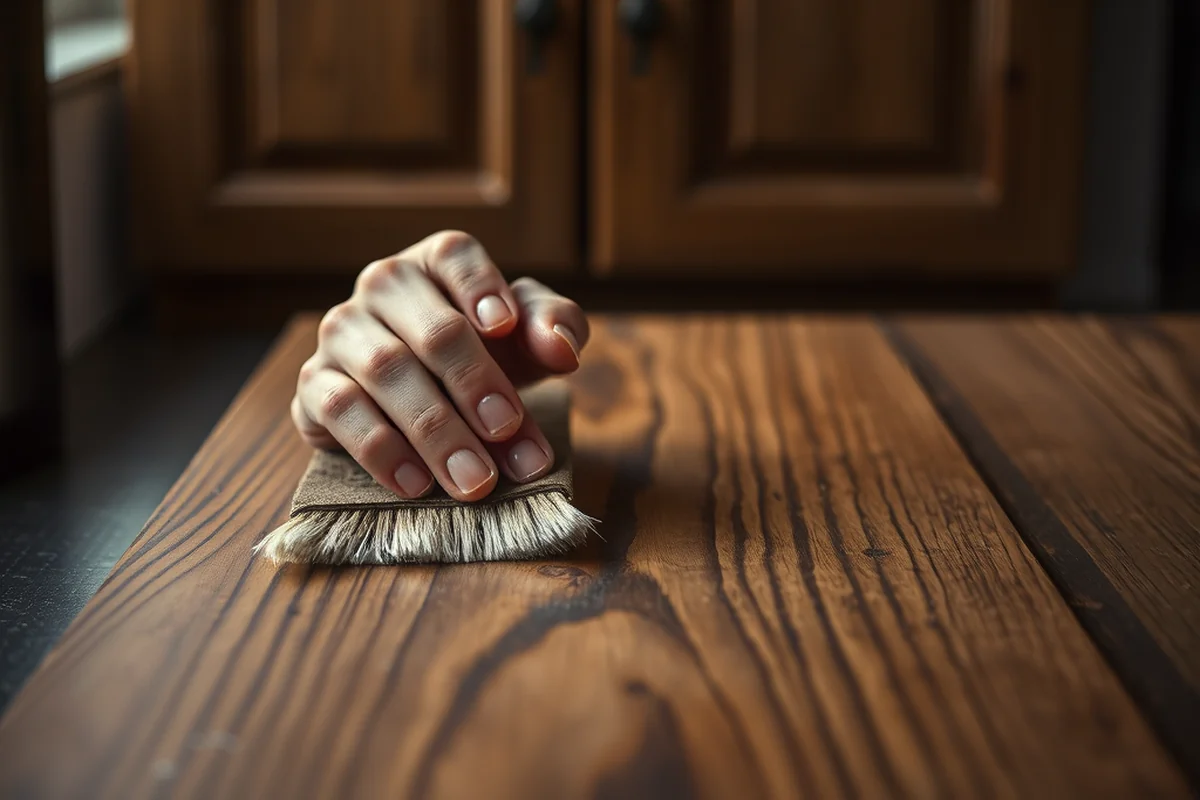
I learned the hard way that not all paints are created equal, especially with bathroom use. I first tried using a standard interior paint, and within a few weeks, the finish was already showing signs of moisture damage. That was a wake-up call. I switched to a water-resistant, moisture-proof paint designed for high-humidity areas, and the difference was immediate. The paint dried faster, had a more even finish, and didn’t feel slippery like the first one had.
I used a semi-gloss paint because it’s more durable and easier to clean than a matte finish. It also reflects light better, making the bathroom feel brighter and more open. The color I chose was a soft, warm white—something that would complement my existing fixtures and tiles. It wasn’t too bold, and it gave the room a sense of calm and modernity.
Choosing the right paint can be overwhelming, but I found that looking for terms like 'moisture-resistant' and 'low-VOC' helped me narrow it down. I also read reviews from other DIYers who had done similar projects, and that helped me avoid common mistakes. It wasn’t just about the look—it was about the longevity of the finish.
Paint is the foundation of your cabinet makeover—choose wisely.
Related: File cabinet makeover contact paper
Related: Kitchen cabinet makeover with contact paper
Related: How to cover cabinets with contact paper
Related: How to contact paper cabinets
Related: Should i put contact paper in my cabinets
Related: What Is Pantry Shelves
Related: What Is Cloud Kitchen
Related: A Wooden Bowl Kitchenaid
Related: Small Kitchen Island
Related: Dining Room Decor Farmhouse
Sanding: The Often-Overlooked Step That Makes All the Difference
I initially thought sanding was a step I could skip, especially since my cabinets didn’t look too bad. But after I painted them and saw how the paint didn’t stick well, I knew I needed to do more. I picked up some 120-grit sandpaper and started gently sanding the surfaces. It was a bit time-consuming, but it made a huge difference. The paint adhered much better to the sanded surface, and the final finish was much smoother.
I used a sanding block to keep the pressure even and avoid creating uneven spots. I also wore a mask and goggles to protect myself from the dust, which is especially important in a bathroom where moisture can cause irritation. I sanded in the direction of the wood grain to avoid creating scratches that went against the natural flow of the material.
After sanding, I wiped the cabinets down with a damp cloth and let them dry completely. This removed all the dust and debris, ensuring that the paint would stick properly. I also used a fine-grit sanding sponge on the edges and corners to smooth out any rough spots. It was tedious, but it was worth every minute.
Sanding may seem small, but it’s essential for paint adhesion. Use 120-grit sandpaper and sand in the direction of the grain to avoid unwanted scratches.
“I still remember the day I stood in my bathroom, staring at the chipped, discolored cabinets that had once been a proud part of my…”— Upcycled Kitchen Cabinet Makeovers editors
Related: Kitchen Cabinets For Wholesale
Related: Best Low Cost Kitchen Cabinets
Related: Kitchen Countertop Organizer
Priming: The Key to a Flawless Paint Job
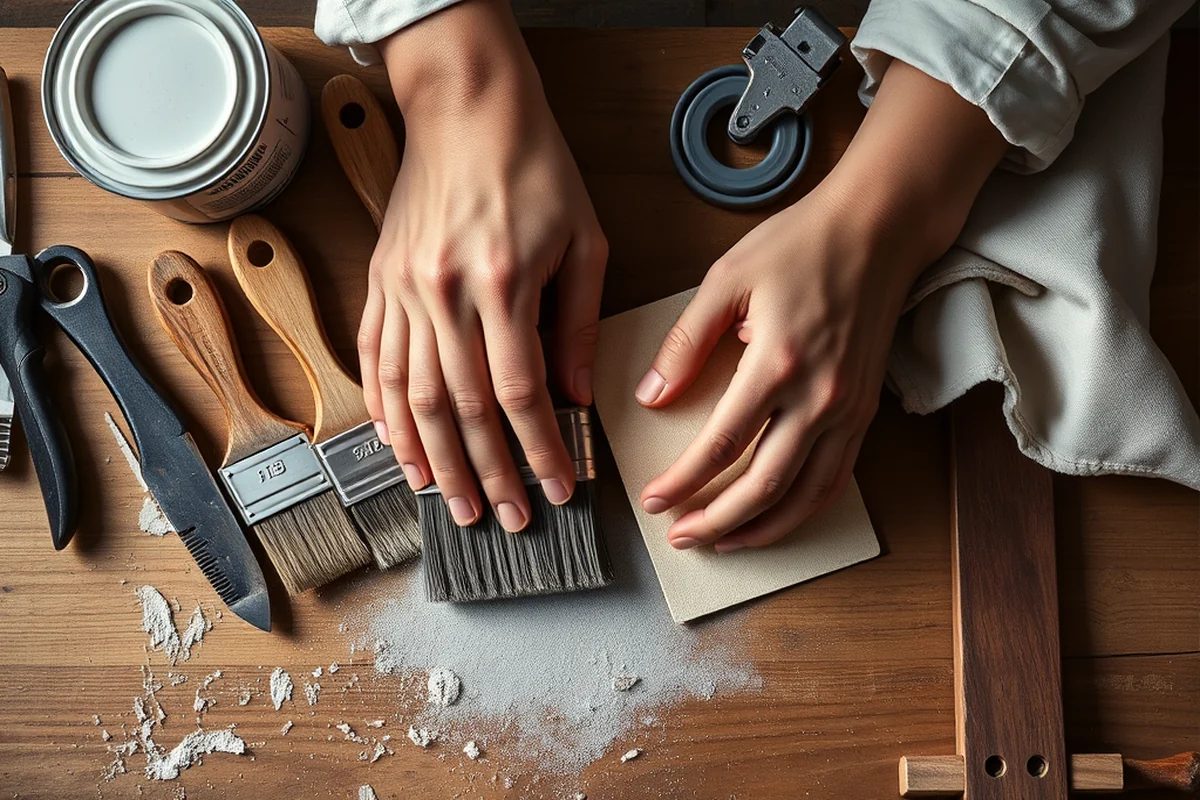
I first painted without a primer, thinking it would save time and money. But the result was disappointing—the paint didn’t stick well, and the finish was uneven. After a few days, I noticed some patches where the paint was peeling off. That was a clear sign that I needed to prime the cabinets first.
I picked up a high-quality primer designed for bathroom use and applied it in even coats. It took about an hour to dry, and I had to wait a full day before painting. But the difference was dramatic. The primer created a smooth base that the paint adhered to perfectly. It also helped cover the old paint more effectively, reducing the number of coats I needed to apply.
Priming not only helps the paint stick better—it also provides a more uniform color and finish. I can’t stress enough how important this step is. It might take a bit more time and money, but it’s a small investment that pays off in the long run.
Related: Best Cleaner For Greasy Cabinets
Related: What Is Modern Farmhouse Kitchen
Painting: The Big Moment—Getting It Right the First Time
I painted my cabinets in two even coats, waiting for each to dry completely before applying the next. I used a small brush for the edges and corners and a roller for the flat surfaces. I made sure to work in sections and always painted from top to bottom to avoid drips. I also took care not to over-brush the paint, as that could cause streaks and unevenness.
I was careful to keep the room well-ventilated while painting, which made the process much easier. I also used a painter’s tape to protect the surrounding areas like the walls and the countertop. It’s easy to get paint on things you don’t want it on, and that’s a big pain to fix later.
I found that applying a second coat after the first was fully dry made the finish much more even. I also used a hairdryer to speed up the drying process, which helped me get the job done faster. It wasn’t a perfect result, but it was close enough for my needs.
Sealing: Protecting Your Work for the Long Haul
After painting, I applied a clear sealant designed for bathroom use to protect the paint and make it easier to clean. I used a water-based polyurethane that was flexible and didn’t yellow over time. It was a bit more expensive than other sealants I had used before, but I knew it was worth it.
I applied the sealant in thin, even coats, waiting for each to dry completely before applying the next. I used a brush for the edges and a foam applicator for the flat surfaces. It took a little while to dry, but the result was worth the wait. The sealant gave the cabinets a smooth, glossy finish that was both beautiful and practical.
I also made sure to apply the sealant in a well-ventilated area and wore protective gear like gloves and a mask. I found that the sealant helped protect the paint from moisture and made it easier to clean in the future. It was the final step that made my cabinets look and feel brand new again.
Don’t forget the sealant—it’s your best defense against moisture and wear.
The Final Touch: Putting It All Together
Once the sealant was fully dry, I stepped back and looked at the cabinets. They looked completely different—clean, fresh, and modern. I was proud of the work I had done and excited to see how they would hold up in the long run. The color was even, the finish was smooth, and the overall look was cohesive with the rest of the bathroom.
I also made sure to clean up any remaining paint or sealant carefully, using a damp cloth and a mild soap. I didn’t want to leave any residue behind that could affect the finish. It was a small but important detail that helped ensure the final result was perfect.
The final step was to enjoy the transformation. I opened the cabinets and saw how much better they looked compared to before. It was a small project, but the results were big. I had taken an old, tired cabinet and turned it into something beautiful and functional again.
💰 Budget Build
Use affordable materials like flat paint and budget-friendly sealants to refresh your cabinets without breaking the bank.
⏳ Weekend Version
Complete the entire project in one day with fast-drying paint and sealants for a quick, effective upgrade.
✨ Upgraded Finish
Opt for a high-gloss paint and a premium sealant for a luxurious, long-lasting finish that looks like a professional job.
🛋️ Small-Space Adaptation
Use a lighter color and avoid heavy hardware to make your bathroom feel more open and airy.
🏠 Rental-Safe Option
Choose removable paint or temporary sealants to avoid damaging the cabinets if you're planning to move out soon.
| The mistake | Why it happens | The fix |
|---|---|---|
| Skipping the sanding step. | Sanding helps the paint adhere better. Without it, the paint may not stick properly and could come off in patches. | Always sand the surface before painting. Use 120-grit sandpaper and sand in the direction of the wood grain. |
| Using the wrong type of paint. | Standard interior paint may not be moisture-resistant, leading to peeling and damage in a high-humidity environment. | Use a moisture-resistant, low-VOC paint designed for bathroom use. A semi-gloss finish is ideal. |
| Painting without a primer. | A primer helps the paint adhere better and provides a more even finish. Without it, the paint may not stick and may look uneven. | Apply a high-quality primer designed for bathroom use before painting. It ensures a smooth, even finish. |
| Not sealing the cabinets properly. | Without a sealant, the paint is vulnerable to moisture and wear, leading to peeling and damage over time. | Use a water-based, flexible sealant designed for bathroom use. Apply it in thin, even coats and allow each to dry completely. |
How To Touch Up Bathroom Cabinets
Common Questions
How long does the paint last on bathroom cabinets?
Can I paint over a glossy finish without sanding?
What tools do I need for this project?
Is it safe to paint while in the bathroom?
References
- CONTAMINATED DRYWALL - GovInfo.gov (govinfo.gov)
Cite this guide
Upcycled Kitchen Cabinet Makeovers (2026). How To Touch Up Bathroom Cabinets. https://upcyclehome.com/how-to-touch-up-bathroom-cabinets/
Feel free to cite or share this guide.