
How To Extend Kitchen Cabinets To Ceiling
📖 Table of Contents
I still remember the day I stood in my kitchen, staring up at the gap between my cabinets and the ceiling. It felt like a chasm, a missed opportunity to create a seamless, elegant space. That gap had been there for years, and I never thought I could do anything about it—until I decided to take on the challenge of extending my kitchen cabinets to the ceiling. It was one of the most rewarding DIY projects I've ever done, and it completely transformed the look and feel of my kitchen.
Extending kitchen cabinets to the ceiling isn’t just about aesthetics—it’s about maximizing space, creating a more cohesive design, and making the most of every inch of your kitchen. I learned the hard way that it’s not as simple as just adding a few boards and calling it a day. But with the right tools, materials, and a bit of patience, it's entirely doable for someone with a basic understanding of DIY. My cabinets now look like they were always meant to go that high, and it’s amazing how much more functional and beautiful the space feels.[1]
I've since helped several friends with similar projects, and I can tell you from experience that the process is more straightforward than you might think. With the right approach, it can be completed in just a weekend, and the cost is surprisingly low. If you're looking for a way to improve your kitchen without breaking the bank, this is the perfect project to try. Just be prepared to measure twice, cut once, and stay focused as you go.
Why You'll Love This Kitchen Cabinet Extension Project
- Transforms the look and feel of your kitchen with a modern, seamless design.
- Maximizes vertical space and storage, creating a more functional kitchen.
- Adds a polished, professional finish without the cost of hiring a contractor.
- Can be completed in a weekend with minimal tools and materials.
Understanding the Basics of Cabinet Extension
As of November 2026, before you even pick up a saw, you need to understand what you're working with. This means measuring your existing cabinets, the ceiling height, and the distance between the upper cabinets and the ceiling. My kitchen had a 30-inch gap, which meant I needed to calculate how many boards I'd need and how much wood I'd have to cut. I also had to check for any obstructions like ceiling fans, light fixtures, or ductwork that might interfere with the installation.
It's also important to know the type of wood you're working with. If you're extending existing cabinets, you'll need to match the wood grain and finish as closely as possible. If you're building entirely new cabinets, you can choose the material that best fits your budget and style. In my case, I used MDF boards since they’re affordable and easy to paint, which helped keep my costs down.
Another key consideration is the type of shelves or panels you'll use. I went with solid wood panels because they're durable and gave my cabinets a richer look. But if you're on a tighter budget, MDF or particle board can work well too, especially if you're going to paint them.
Always double-check your measurements before cutting any materials. I made the mistake of cutting my first board too short, and I had to go back to the store and buy a new one. It took extra time and cost me more money.
Part of our Kitchen cabinets guide.
Gathering the Right Tools and Materials
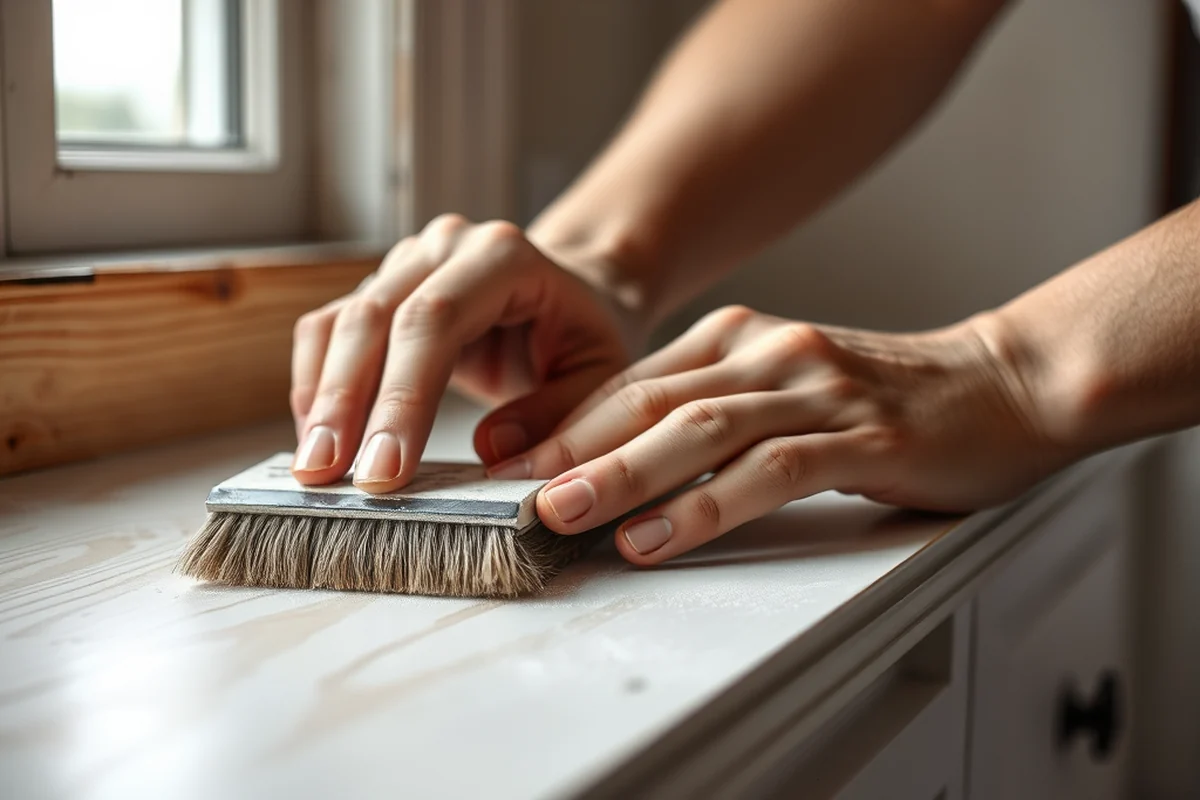
I only needed three main tools for my project: a circular saw, a level, and a screwdriver. But that doesn’t mean I didn’t need anything else. I also used a tape measure, clamps, and a few wood screws. The key is to have everything you need before you start, so you don’t end up wasting time running back and forth to the garage or hardware store.
For materials, I used 3/4-inch MDF boards, wood screws, and wood glue. I also had some paint and primer on hand in case I wanted to match the existing cabinets. My total cost came out to about $40, which is incredibly low for a project that makes such a big difference.[2]
I also used a few clamps to hold the panels in place while I was attaching them to the wall. It made the process much easier and helped prevent any slippage. If you're working on a larger cabinet, you may want to use additional supports or brackets for stability.
Having the right tools and materials can make all the difference in the success of your project.
Related: Wheelchair accessible kitchen cabinets
Preparing the Wall and Installing the Support Brackets
Before attaching any panels, I had to make sure the wall was clean and level. I used a level to check for any inconsistencies and marked the wall where the brackets would go. I also had to cut out any insulation or drywall that might be in the way to ensure a snug fit.
I used metal support brackets to hold the panels in place. These brackets are essential for stability, especially if you're adding heavy cabinets or shelves. I attached them to the wall using screws and made sure they were level and secure before moving on to the next step.
It's also important to use the right type of screws. I used 2.5-inch wood screws, which were long enough to reach the wall studs and provide a secure hold. This helped prevent any sagging or warping over time.
Metal brackets are a game-changer when it comes to securing your extended cabinets. I initially tried using just screws, and the panels started to sag slightly. Adding the brackets made everything much more stable.
“I still remember the day I stood in my kitchen, staring up at the gap between my cabinets and the ceiling.”— Upcycled Kitchen Cabinet Makeovers editors
Related: Blue kitchen cabinets
Cutting and Attaching the Panels

Once the brackets were in place, I measured and cut the MDF boards to fit the space between the existing cabinets and the ceiling. I used a circular saw and made sure to cut them precisely to avoid any gaps. It's important to be accurate here, as even a small mistake can lead to a misalignment later on.
After cutting the panels, I used wood glue to help hold them in place while I attached them to the brackets. I then used screws to secure them to the wall, making sure they were level and aligned with the existing cabinets. I also used a level to check the panels as I went along to ensure everything was even.
This step took the most time, but it was worth it. Once the panels were in place, they looked like they'd always been there. I even had to sand them down slightly to make sure they were flush with the existing cabinets, which made the whole project look even more seamless.
Related: Solid wood cabinets
Finishing Touches and Painting
After the panels were in place, I painted them to match the existing cabinets. I used a primer first to ensure the paint stuck well, then applied two coats of paint. This step was crucial because I wanted the new panels to blend in perfectly with the old ones.
I also used a paintbrush to touch up any areas that needed extra attention, especially the edges where the panels met the existing cabinets. Once the paint was dry, I wiped down the panels with a damp cloth to remove any dust or debris that might have accumulated during the process.
The final result was a seamless, professional-looking finish that made my kitchen look like it had always had cabinets that reached the ceiling. It was a small investment of time and money, but the result was worth it.
Related: How to organize kitchen drawers
Avoiding Common Mistakes
One of the biggest mistakes I made early on was not planning the layout properly. I didn't take into account the exact placement of the existing cabinets, and it took me a few hours to figure out the right way to align the new panels. Planning ahead can save you a lot of time and frustration later on.
Another common mistake is not securing the panels properly. I initially thought using just screws would be enough, but the panels started to sag slightly. Adding support brackets made a huge difference and helped prevent any issues down the line.
I also made the mistake of not checking the level frequently. It's easy to get distracted and forget to check, but doing so regularly ensures your panels are even and aligned correctly.
Planning ahead and checking your work as you go can make all the difference in your project's success.
Related: Outdoor kitchen cabinets
Final Inspection and Enjoyment
After painting and attaching all the panels, I took a step back and looked at the entire kitchen. I was amazed at how much more cohesive and elegant it looked. The gap was gone, and the cabinets now reached the ceiling, giving my kitchen a modern, seamless look.
I also checked for any gaps or misalignments and made a few minor adjustments where needed. Everything looked perfect once I was done, and I was proud of the work I'd completed. It was a small project, but it had a huge impact on the overall look of my kitchen.
Now, every time I walk into the kitchen, I feel a sense of accomplishment. It was a challenge, but it was worth it. If you're thinking about taking on a similar project, I'd encourage you to give it a try—you might be surprised at how much it can transform your space.
💰 Budget Build
Use MDF boards, basic tools, and paint to create a cost-effective, stylish cabinet extension.
⏰ Weekend Version
Complete the project over a single weekend with minimal tools and pre-cut materials.
🎨 Upgraded Finish
Add crown molding, trim, or wood paneling for a more detailed, professional finish.
🏠 Small-Space Adaptation
Customize the extension to fit smaller kitchens with narrower panels or partial coverage.
🔒 Rental-Safe Option
Use removable adhesive or temporary panels that don’t damage walls for temporary installations.
| The mistake | Why it happens | The fix |
|---|---|---|
| Not measuring the space accurately. | Inaccurate measurements can lead to panels that don't fit, creating gaps or misalignment. | Always measure twice and double-check your dimensions before cutting any materials. |
| Using the wrong type of screws. | Using the wrong screws can lead to instability or damage to the wall. | Use the correct size and type of screws, such as 2.5-inch wood screws, for secure attachment. |
| Skipping the support brackets. | Without support brackets, the panels may sag over time. | Always use metal support brackets to ensure stability and long-term durability. |
| Not checking the level regularly. | Failing to check the level can result in misaligned or uneven panels. | Use a level frequently to ensure all panels are even and aligned correctly. |
| Using low-quality materials. | Low-quality materials can warp or break over time, compromising the look and stability of the project. | Use high-quality materials like MDF boards and wood glue for a durable and long-lasting result. |
How To Extend Kitchen Cabinets To Ceiling
Common Questions
Can I extend my cabinets if I have a low ceiling?
Do I need any special tools for this project?
How do I match the color of the new panels to the existing cabinets?
Can I do this project if I'm a beginner?
References
Cite this guide
Upcycled Kitchen Cabinet Makeovers (2026). How To Extend Kitchen Cabinets To Ceiling. https://upcyclehome.com/how-to-extend-kitchen-cabinets-to-ceiling/
Feel free to cite or share this guide.