
Wardrobe Door Makeovers
📖 Table of Contents
When I first moved into my old house, the wardrobe doors were a sad, chipped mess. They looked like they’d been through a war, and I knew that if I wanted to make the space feel like home, I had to do something about them. That’s how I stumbled into wardrobe door makeovers — a project that not only gave me a fresh start. Also taught me how a few hours of work and a little creativity can transform a room. I still remember the moment I saw the finished product: the way the light caught the new paint, the smoothness of the new hardware. The quiet pride that came with knowing I had done it myself.
Wardrobe door makeovers aren’t just about aesthetics — they’re about reclaiming space and investing in your home. I’ve learned that the right materials, tools and techniques can turn a tired wardrobe into a stunning focal point. Whether you’re dealing with a dated finish, a door that’s warped or simply bored of the same old look, there’s a solution that fits your style and budget. And the best part? You don’t need to be a professional to pull it off. With the right approach, you can have a beautiful wardrobe in just a few hours.
I’ve done a few wardrobe door makeovers over the years, and each one has taught me something new. From learning how to measure accurately to discovering the power of a good sanding technique, I’ve found that the process is as rewarding as the result. If you’re thinking about tackling your own wardrobe door makeover, I promise you that with the right guidance, you’ll be surprised by what you can achieve. It’s not just about changing the look of your wardrobe — it’s about changing the way you see your home.
Why You'll Love This Wardrobe Door Makeover
- Boost your home’s aesthetic without breaking the bank
- Revitalize a tired wardrobe with minimal effort
- Customize the look to match your personal style
- Increase the resale value of your home
What You Need to Get Started
As of September 2026, to start your wardrobe door makeover, you’ll need a few key items. A paint roller and tray will help you apply the new finish evenly, while sandpaper will smooth out the old surface. You’ll also need new hinges if the existing ones are rusty or damaged. Don’t forget to pick up a few coats of paint — I recommend using a high-quality primer followed by two to three topcoats for the best results.[1]
I’ve found that having the right tools makes the difference between a quick, easy project and one that feels overwhelming. A set of measuring tools, like a tape measure and a level, will help you ensure everything lines up correctly. If you’re working with old doors, you might also need a screwdriver to remove the old hardware and a hammer and nails to install the new ones.
I always recommend starting with a clean workspace. Wipe down the doors to remove dust and dirt, and be sure to protect your floor with drop cloths. With the right materials and tools, you’ll be ready to begin the transformation.[2]
Before you begin, make a list of everything you need. This will save you from running to the store mid-project and keep your workflow smooth.
Part of our Kitchen cabinets guide.
Measuring and Preparing the Doors
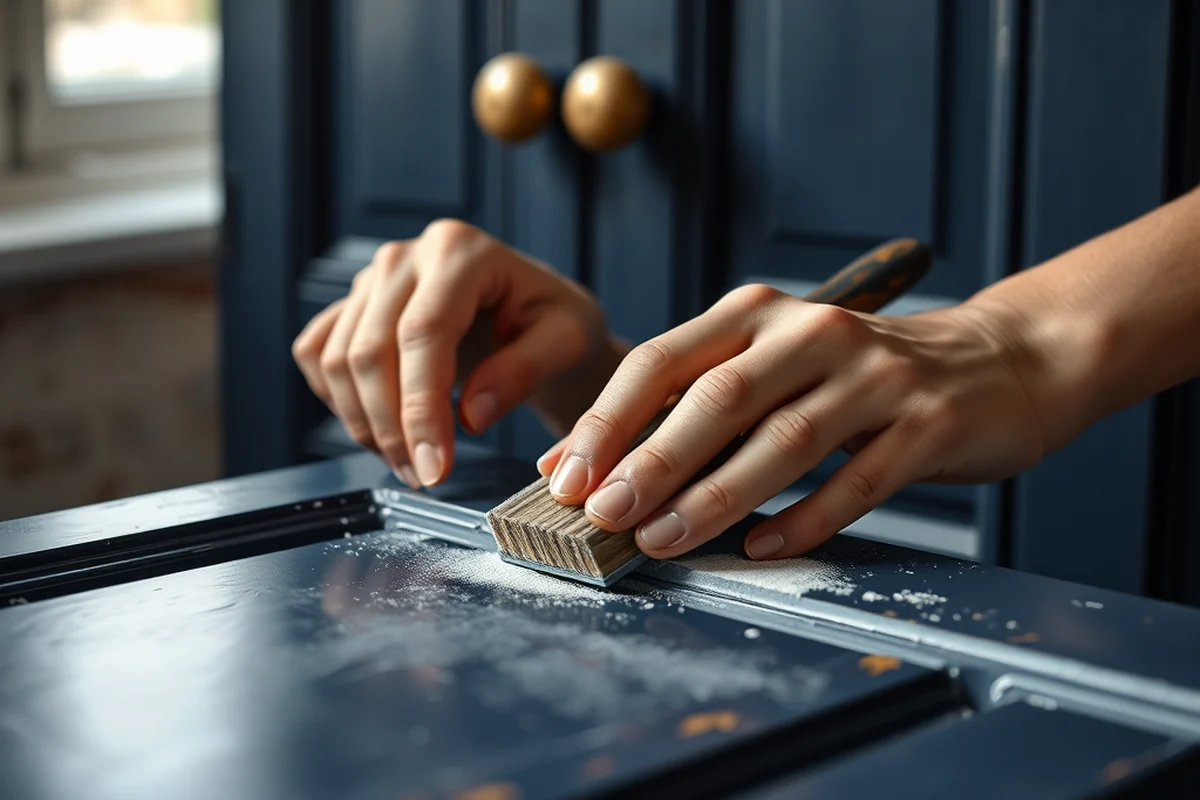
Before you start painting, take precise measurements of your wardrobe doors. This will help you determine how much paint and materials you’ll need. I’ve learned that underestimating can lead to more trips to the store and wasted time. Use a tape measure and a level to ensure everything is aligned properly.
Once you have your measurements, it’s time to prepare the doors. Sanding is a crucial step — it removes the old finish and creates a smooth surface for the new paint. I always use 120-grit sandpaper for this step, and I make sure to sand in the direction of the wood grain to avoid leaving scratches.[3]
After sanding, clean the doors thoroughly with a damp cloth to remove any dust or debris. This will ensure the paint adheres properly and lasts longer. I’ve found that taking the time to prep the doors properly makes all the difference in the final result.
A little preparation goes a long way in a wardrobe door makeover.
Related: Cabinet door makeover ideas
Related: Upcycling kitchen cabinets
Related: Cabinet door ideas
Related: Recycled kitchen cabinets for sale
Related: Repurposed kitchen cabinets near me
Choosing the Right Paint and Finish
Choosing the right paint is essential for a successful wardrobe door makeover. I recommend using a high-quality primer to create a strong base, followed by two to three coats of paint. Satin or semi-gloss finishes are ideal for doors because they’re durable and easy to clean.[4]
I’ve found that using the right type of paint can make a big difference in the final look. For a modern, sleek finish, I often go with a semi-gloss paint, while a matte finish can give a more understated, elegant look. It’s important to pick a color that complements the rest of your space and reflects your personal style.
If you’re unsure about which color to choose, take samples home and test them in different lighting conditions. I always recommend testing the paint on a small section of the door first to see how it looks in the space. This helps ensure you’re happy with the final result before committing to the full project.
Before painting the entire wardrobe, test your paint on a small section to see how it looks in your space and under different lighting conditions.
“When I first moved into my old house, the wardrobe doors were a sad, chipped mess.”— Upcycled Kitchen Cabinet Makeovers editors
Painting the Doors
With the doors cleaned and sanded, it’s time to start painting. Begin with the primer, applying it evenly with a paint roller. I recommend using a long-nap roller for better coverage, and always work in a well-ventilated area.
Once the primer is dry, apply the first coat of paint. I like to work from the top of the door to the bottom, making sure to cover all surfaces evenly. I always let each coat dry completely before applying the next one to avoid streaks and ensure a smooth finish.
I’ve found that patience is key when painting. Rushing the process can lead to uneven coverage and a less-than-ideal result. Taking your time and applying each coat carefully will give you the best possible outcome.
Adding New Hardware
After the paint has dried, it’s time to add new hardware. This is a simple but impactful step that can completely change the look of your wardrobe. I’ve used a variety of hardware, from simple brass knobs to sleek, modern handles, and each one has added a unique touch to the doors.
When choosing new hardware, consider the style of your home and the overall look you’re trying to achieve. I recommend selecting hardware that complements the new paint color and fits the size of the doors. If you’re unsure, start with a neutral finish like black or brass, which tends to work well with most styles.
Installing the new hardware is straightforward. I always use a screwdriver to remove the old hardware and then attach the new pieces using the screws provided. Once everything is in place, I give the doors a final wipe to ensure everything looks clean and polished.
Final Touches and Reassembly
After the paint has fully dried and the hardware is installed, it’s time to reassemble the wardrobe. I’ve found that taking your time during this step is important — rushing can lead to misalignment or scratches.
Start by attaching the doors back to the wardrobe frame. I always make sure the hinges are aligned properly and the doors close smoothly. If you’re using new hinges, it might take a bit of time to adjust them for the perfect fit.
Once everything is back in place, step back and admire your work. I’ve found that the satisfaction of seeing the finished result is well worth the time and effort. With a little patience and care, your wardrobe door makeover will look stunning and last for years.
The final result is worth every drop of paint and every moment of effort.
Maintaining Your New Wardrobe Doors
Once your wardrobe door makeover is complete, it’s important to maintain the finish to keep it looking its best. I recommend using a soft cloth to wipe the doors regularly and avoid using abrasive cleaners that can damage the paint.
If you notice any chips or scratches, take care of them as soon as possible. I’ve found that filling small chips with touch-up paint can help maintain the overall look of the doors. For larger scratches, you may need to sand and repaint the affected area.
Over time, the paint may start to fade or wear down, especially in high-traffic areas. I recommend touching up the doors every few years to keep them looking fresh and new. With a little care, your wardrobe doors will remain a beautiful part of your home for years.
💰 Budget Build
A cost-effective wardrobe door makeover using affordable materials and minimal tools.
⏰ Weekend Version
A quick and easy wardrobe door makeover that can be completed in one weekend.
✨ Upgraded Finish
A wardrobe door makeover with high-end paint and custom hardware for a luxurious look.
🏠 Small-Space Adaptation
A wardrobe door makeover tailored for small spaces with a focus on maximizing storage and style.
🔒 Rental-Safe Option
A non-permanent wardrobe door makeover that’s easy to remove and restore when moving out.
| The mistake | Why it happens | The fix |
|---|---|---|
| Skipping the sanding step | Without sanding, the paint won’t adhere properly, leading to peeling or an uneven finish. | Always sand the doors thoroughly before painting to ensure a smooth, lasting result. |
| Using the wrong type of paint | Using a paint that’s too thin or not suitable for wood can lead to chipping and a poor finish. | Choose a high-quality paint with a satin or semi-gloss finish for the best results. |
| Not cleaning the doors properly after sanding | Dust and debris on the doors can affect the paint’s adhesion and create an uneven finish. | Wipe the doors clean with a damp cloth after sanding to remove any dust or debris. |
| Overlooking the hardware upgrade | Old hardware can detract from the overall look, even if the doors are beautifully painted. | Take the time to choose and install new hardware that complements the new paint and style of your wardrobe. |
Wardrobe Door Makeovers
Common Questions
How long does a wardrobe door makeover typically take?
What type of paint is best for wardrobe doors?
Do I need any special tools for a wardrobe door makeover?
Can I do a wardrobe door makeover on my own?
Cite this guide
Upcycled Kitchen Cabinet Makeovers (2026). Wardrobe Door Makeovers. https://upcyclehome.com/wardrobe-door-makeovers/
Feel free to cite or share this guide.
References
- Sustainable Fashion: New Approaches - Academia.edu (academia.edu)
- A Durfee Fixer Upper: Farmhouse finishings - Anchor - Hope College (anchor.hope.edu)
- Dressing for the Job: Choosing Clothes that Take You from Interview ... (careerplan.commons.gc.cuny.edu)
- Dressing for Business Success Sara B. Marcketti and Jane Farrell ... (dr.lib.iastate.edu)