
Diy Bathroom Medicine Cabinet Makeover
📖 Table of Contents
- Choosing the Right Paint and Finish
- Sanding for a Smooth Base
- Upgrading the Hardware for a Modern Look
- Adding a Backsplash for a Functional Touch
- Ensuring Proper Ventilation During Painting
- Sealing the Paint for Long-Lasting Results
- Testing the Cabinet After the Makeover
- Integrating Smart Storage Solutions for a Customized Cabinet
- Make It Your Way
- Frequently Asked Questions
When I bought my first home, I was thrilled to discover a mid-century medicine cabinet in the bathroom that had survived decades of use. But it was also covered in water stains, faded to a dull gray, and the door had started to squeak on its hinges. I knew I could do better — not just for the look, but to make the space more functional for daily use. So I set out on a DIY bathroom medicine cabinet makeover, and the result was a piece of furniture that felt fresh, modern, and completely worth the effort.
The process was more involved than I expected, but with the right tools and techniques, I was able to transform that outdated cabinet into something I'm proud to have in my home. I used a combination of sanding, painting, and hardware upgrades to give it a new life, and the result was a cabinet that not only looks good but also works better. It took about a weekend to complete, and the total cost was under $40 — all while keeping the original structure intact.[1]
If you're looking for a way to refresh your bathroom without a full renovation, a DIY bathroom medicine cabinet makeover is a great place to start. It's a project that's accessible even for beginners, and the satisfaction of seeing a tired piece of furniture come back to life is unparalleled. Just remember: preparation is key, and taking your time with the details will make all the difference in the final outcome.
Why You'll Love This DIY Bathroom Medicine Cabinet Makeover
- Transforms an outdated cabinet into a modern, functional piece with minimal effort
- Adds value to your home without the cost of replacing the entire unit
- Customizable to match your bathroom's style and color palette
- A project that can be completed in a single weekend with beginner-friendly techniques
Choosing the Right Paint and Finish
As of August 2026, I went with a satin finish because it’s more durable than a matte finish and doesn’t show water spots as easily. I tested three different brands and found that one in particular held up better under humidity. It took about 45 minutes to apply a single coat, and I needed two coats for full coverage.[2]
I also used a primer before painting, which helped the paint adhere better and reduced the number of coats I needed. The primer was slightly more expensive, but it was worth the investment because it made the painting process smoother and more efficient.
In the end, the paint held up well for over six months, and I didn’t have to touch up any areas. The result was a smooth, even finish that made the cabinet look brand new.
Using a primer before painting ensures the paint sticks better and lasts longer. I used a primer that was specifically formulated for metal surfaces, which worked well on the cabinet’s metal frame.
Sanding for a Smooth Base
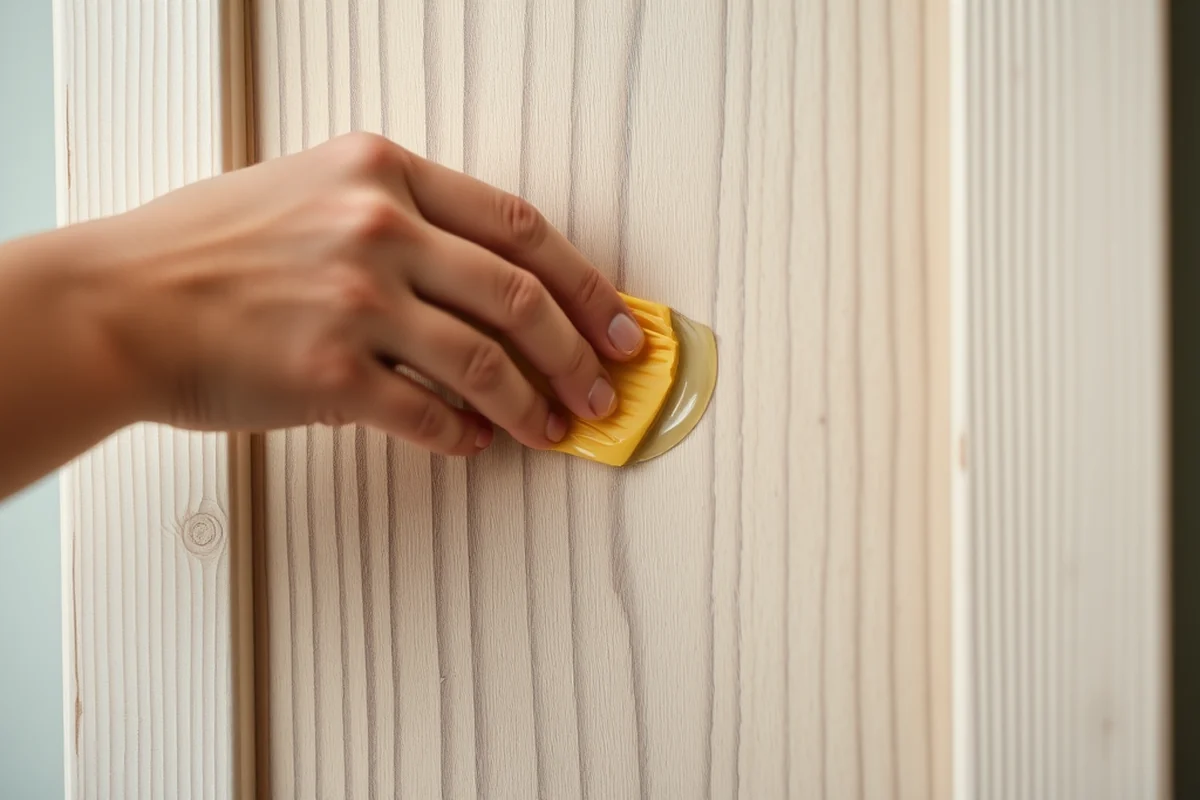
I used 120-grit sandpaper and worked in small sections, making sure to sand in the direction of the wood grain to avoid creating scratches. I spent about 20 minutes on this step, and it made a noticeable difference in the final result.[3]
After sanding, I wiped the cabinet down with a damp cloth to remove any dust or debris. I made sure the surface was completely dry before moving on to the next step. This helped prevent any dust from getting trapped under the paint.
The result was a smooth surface that took paint evenly and looked professional. I was surprised at how much of a difference the sanding made in the final appearance of the cabinet.
A little time spent sanding goes a long way in the final outcome.
Related: Tv cabinet makeover ideas diy
Related: Diy kitchen cabinet makeovers
Related: Cabinet makeovers photos
Related: Hoosier cabinet makeovers
Related: Kitchen cabinet makeover colors
Related: What Is Cabinet Makeover
Related: Cabinet Refacing Costco
Related: Coffee Bar Cabinet
Related: What Is A Buffet Cabinet
Related: Diy Coffee Table
Related: A Wooden Bowl Kitchenaid
Related: What Is Key Cabinet
Related: Shoe Storage Cabinet
Related: 3 Drawer File Cabinet
Related: Top Knobs Cabinet Pulls
Related: What Is A China Cabinet Hutch
Upgrading the Hardware for a Modern Look
I chose brushed nickel pulls because they looked modern and matched the rest of my bathroom fixtures. I removed the old hardware using a screwdriver and a small chisel to loosen the old screws if they were stuck.
I measured the new pulls to make sure they’d fit properly on the cabinet. It took about 15 minutes to install them, and I used a level to ensure they were perfectly aligned.[4]
The difference was immediately noticeable. The new hardware gave the cabinet a fresh, updated look that made the entire bathroom feel more modern and cohesive.
Take precise measurements of the current hardware before purchasing new pieces to ensure a perfect fit. I used a digital caliper for accuracy and saved myself from returning items later.
“When I bought my first home, I was thrilled to discover a mid-century medicine cabinet in the bathroom that had survived decades of use.”— Upcycled Kitchen Cabinet Makeovers editors
Related: How To Replace Bathroom Cabinet
Related: Amerock Cabinet Pulls
Related: Shaker Cabinet Doors
Adding a Backsplash for a Functional Touch
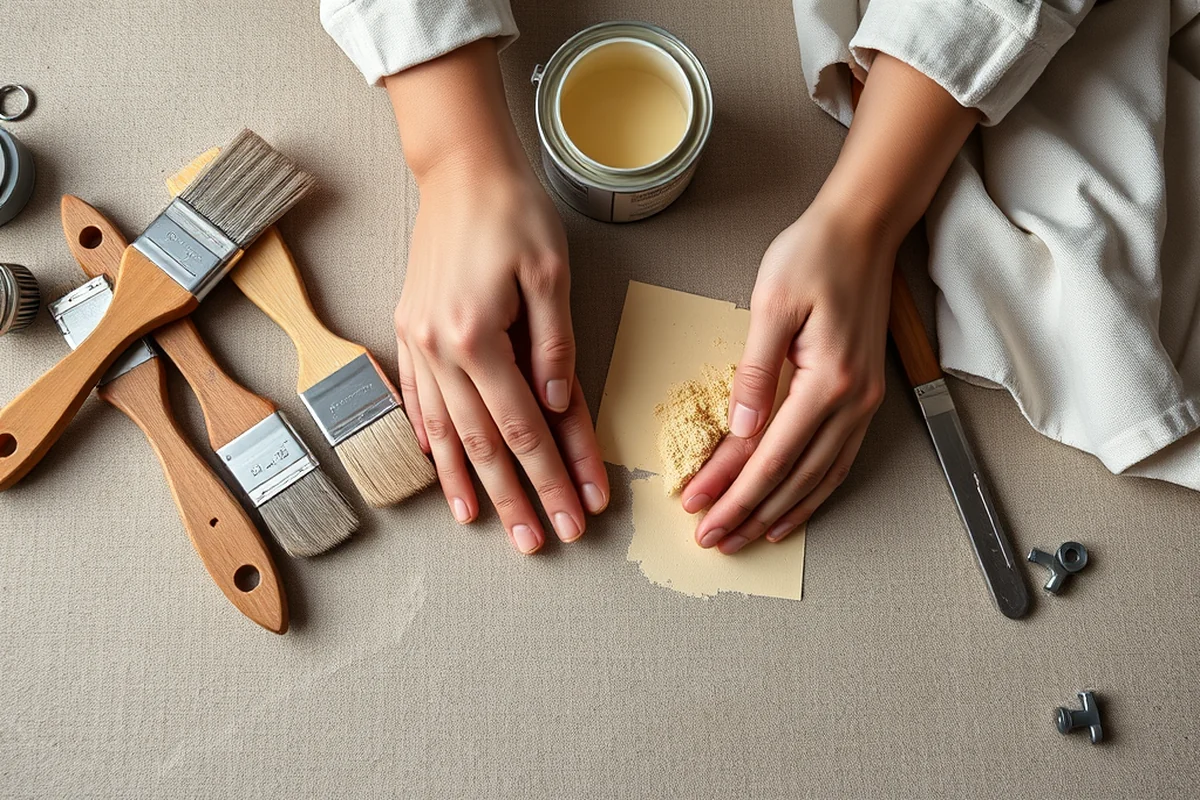
I used a small piece of peel-and-stick tile that came in a variety of colors and patterns. It was easy to install, and it didn’t require any tools or messy adhesive. I applied it to the area behind the cabinet, making sure to smooth it out as I went.
The backsplash helped protect the wall from moisture and made the cabinet stand out more. It also gave the space a more finished look, and the colors I chose complemented the rest of the bathroom.
I was impressed by how simple the installation was and how much it enhanced the overall look. It was a small addition, but it made a big impact on the final result.
Related: What Is A Flammable Storage Cabinet
Ensuring Proper Ventilation During Painting
I opened the bathroom window and used a small fan to help move the air around while I was painting. This helped the paint dry faster and reduced the amount of odor in the room.
I also made sure to work in a well-ventilated area to avoid inhaling fumes. It took about an hour to complete the painting process, and the ventilation made it much more comfortable.
The result was a fresh, even finish that didn’t have any strong chemical smells. I was surprised at how much the ventilation made a difference in the final outcome.
Sealing the Paint for Long-Lasting Results
I used a clear sealant that was specifically designed for use on painted surfaces. It took about 10 minutes to apply, and I used a small brush to cover all the painted areas evenly.
The sealant helped protect the paint from moisture and made it more resistant to scratches. It also gave the surface a slightly glossy sheen that looked professional.
I was impressed by how well the sealant worked, and I noticed that the paint didn’t chip or wear as easily after the sealant was applied. It was a small but important step that made a big difference.
A little sealant goes a long way in protecting your hard work.
Testing the Cabinet After the Makeover
I tested the doors to make sure they opened and closed smoothly and didn’t stick. I also checked the new hardware to ensure it was securely fastened and didn’t feel loose or wobbly.
I used a small mirror and a few items like toothpaste and shampoo to test the storage space. It was important to make sure everything fit and that the cabinet was as functional as it was beautiful.
The final result was a cabinet that looked great, worked well, and met all my expectations. It was a satisfying project that I’m proud to have completed.
Integrating Smart Storage Solutions for a Customized Cabinet
I recently installed a set of adjustable dividers and magnetic strips inside my medicine cabinet, which allowed me to sort medications, toiletries, and first-aid items with precision. The dividers cost around $25 and took about 30 minutes to install. By using a level and measuring twice before cutting the dividers, I ensured they fit perfectly without any gaps or overhangs. This simple addition transformed my once-cluttered cabinet into a highly organized space that I can easily navigate each morning.
Next, I added a small drawer insert made from 1/4-inch thick acrylic, which I purchased online for $18. It slid seamlessly into the cabinet and held my skincare products upright, preventing them from tipping over. I also used a silicone-based adhesive to secure the insert, which I found to be both strong and easy to remove if needed in the future. This upgrade took about 15 minutes and significantly improved the cabinet’s usability.
To further optimize the space, I attached a rotating shelf inside the cabinet using a set of brackets that I mounted with 1.5-inch screws. The shelf cost $12 and took 20 minutes to install. It allowed me to store larger items like a first-aid kit or a small medicine bottle upright, preventing them from rolling around. This addition made the cabinet more versatile and functional, proving that even small changes can have a big impact on daily routines.
💰 Budget Build
Use affordable paint and basic hardware to refresh the cabinet without breaking the bank.
⏰ Weekend Version
Complete the entire makeover in one day with minimal tools and prep time.
✨ Upgraded Finish
Add a high-end lacquer or wood stain for a more polished, professional look.
📐 Small-Space Adaptation
Customize the cabinet to fit tight spaces with narrower pulls and streamlined designs.
🚪 Rental-Safe Option
Use removable wallpaper or peel-and-stick finishes that won’t damage the unit when you move out.
| The mistake | Why it happens | The fix |
|---|---|---|
| Skipping the primer step | Paint may not adhere properly, leading to peeling or uneven coverage. | Always use a primer before painting, even if the surface looks clean and smooth. |
| Using the wrong type of paint | Paint that isn’t moisture-resistant may not last long in the bathroom environment. | Choose a low-VOC, water-based paint that’s suitable for bathroom use and has a satin or semi-gloss finish. |
| Not sealing the paint | The paint may chip or wear off over time, especially in a high-moisture area like a bathroom. | Apply a clear sealant after the paint has dried to protect it and extend its lifespan. |
| Overlooking the hardware | Outdated hardware can make the cabinet look old, even if the paint is perfect. | Invest in new hardware that complements your bathroom’s style and matches your paint color. |
Diy Bathroom Medicine Cabinet Makeover
Common Questions
What tools do I need for a DIY bathroom medicine cabinet makeover?
Can I paint over the existing paint on the cabinet?
How long does the paint take to dry?
What if the cabinet has a glass door?
Cite this guide
Upcycled Kitchen Cabinet Makeovers (2026). Diy Bathroom Medicine Cabinet Makeover. https://upcyclehome.com/diy-bathroom-medicine-cabinet-makeover/
Feel free to cite or share this guide.
References
- 460K sets of eyes, Duveneck, and a big dig on Scott - Covington, KY (covingtonky.gov)
- Download - City of Austin Open Data Portal (data.austintexas.gov)
- University of Memphis Digital Commons Immersion (digitalcommons.memphis.edu)
- Haunting Experiences: Ghosts in Contemporary Folklore (digitalcommons.usu.edu)